How to Create an Avatar of Myself: Photo or Prompt Guide
November 22, 2026 · 12 min read
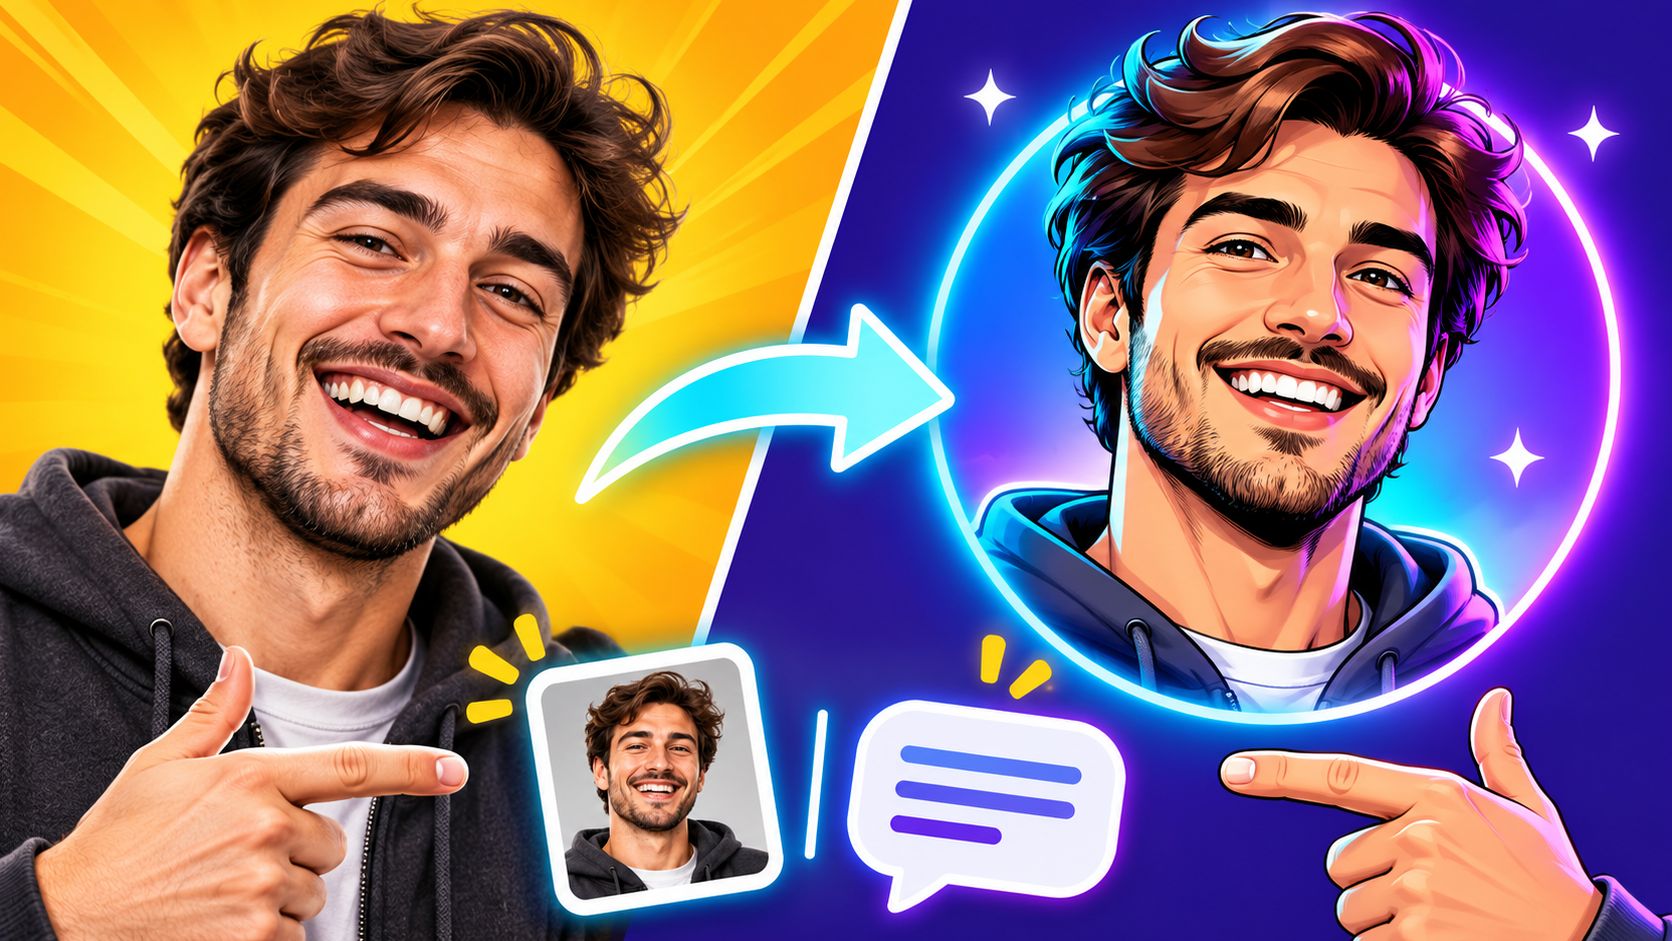
You have a blank profile circle, a script with nobody to read it, and a camera roll that is either too messy or too empty. The easy move is to drop in the first selfie and accept whatever face comes back. That is how likeness slips, a fun portrait starts to look like real footage, and a voice ends up saying lines you never approved.
How to create an avatar of myself is a set of identity rules and consent limits, not a hunt for one perfect portrait. A work page, a chat icon, and a short talking clip are three different jobs. I would name the one place this version has to work this week before any file leaves your phone.
Table of Contents
- Pick the Avatar Type Before You Upload
- Consent, Privacy and Deepfake Limits
- A checklist before you upload
- How to Build Your Avatar Step by Step
- What a finished still looks like
- Build an Avatar From a Written Description
- Three blocks, only two that move
- Record a Speaking Avatar That Stays in Sync
- Fix Common Avatar Problems Fast
- Sort the fix by the time it costs
- Ownership and Disclosure Before You Publish
- Start Your Avatar With One Clear Goal
Pick the Avatar Type Before You Upload
| Avatar type | Best for | Realism | Source material needed |
|---|---|---|---|
| Realistic headshot | Work profiles, company pages | High | 8 to 12 varied, unedited photos |
| Full-body character | Games, storytelling, full-body video | Medium to high | Full-body photos or a detailed text description |
| Stylized or illustrated icon | Chat apps, social profiles, small logos | Low to medium | One clear photo plus style notes |
| Speaking digital double | Talking video, presentations | High | Clean front-facing video plus a voice sample |
| Non-human or abstract mascot | Privacy-first branding, creative work | Low | Written description only |
Purpose comes first: professional profile, social interaction, gaming, entertainment, or artistic branding. Then pick how real it should look.
A realistic headshot belongs on a work profile or company page, where people need to recognize you in a small circle. A full-body character fits games and story clips, so the body and clothing have to stay consistent, not just the face. A stylized icon is enough for chat apps and tiny logos. A speaking digital double is only worth the extra footage when the job is talking video. A non-human mascot is the right call when a brand should have no face at all.
One avatar rarely covers every setting. A 2014 peer-reviewed study of virtual-world users analyzed 244 completed questionnaires and found that 73.0% maintained multiple avatars, with an average of 3. A second version is normal, not a failure of authenticity.
Even a stylized face can stay yours if you lock hairstyle, skin tone, clothing palette, and one signature accessory. Exaggerate other traits if you want, but keep those cues still.
Practical rule: Pick the type that matches the context you use most, and add a second type only when a second context truly needs it.
Consent, Privacy and Deepfake Limits
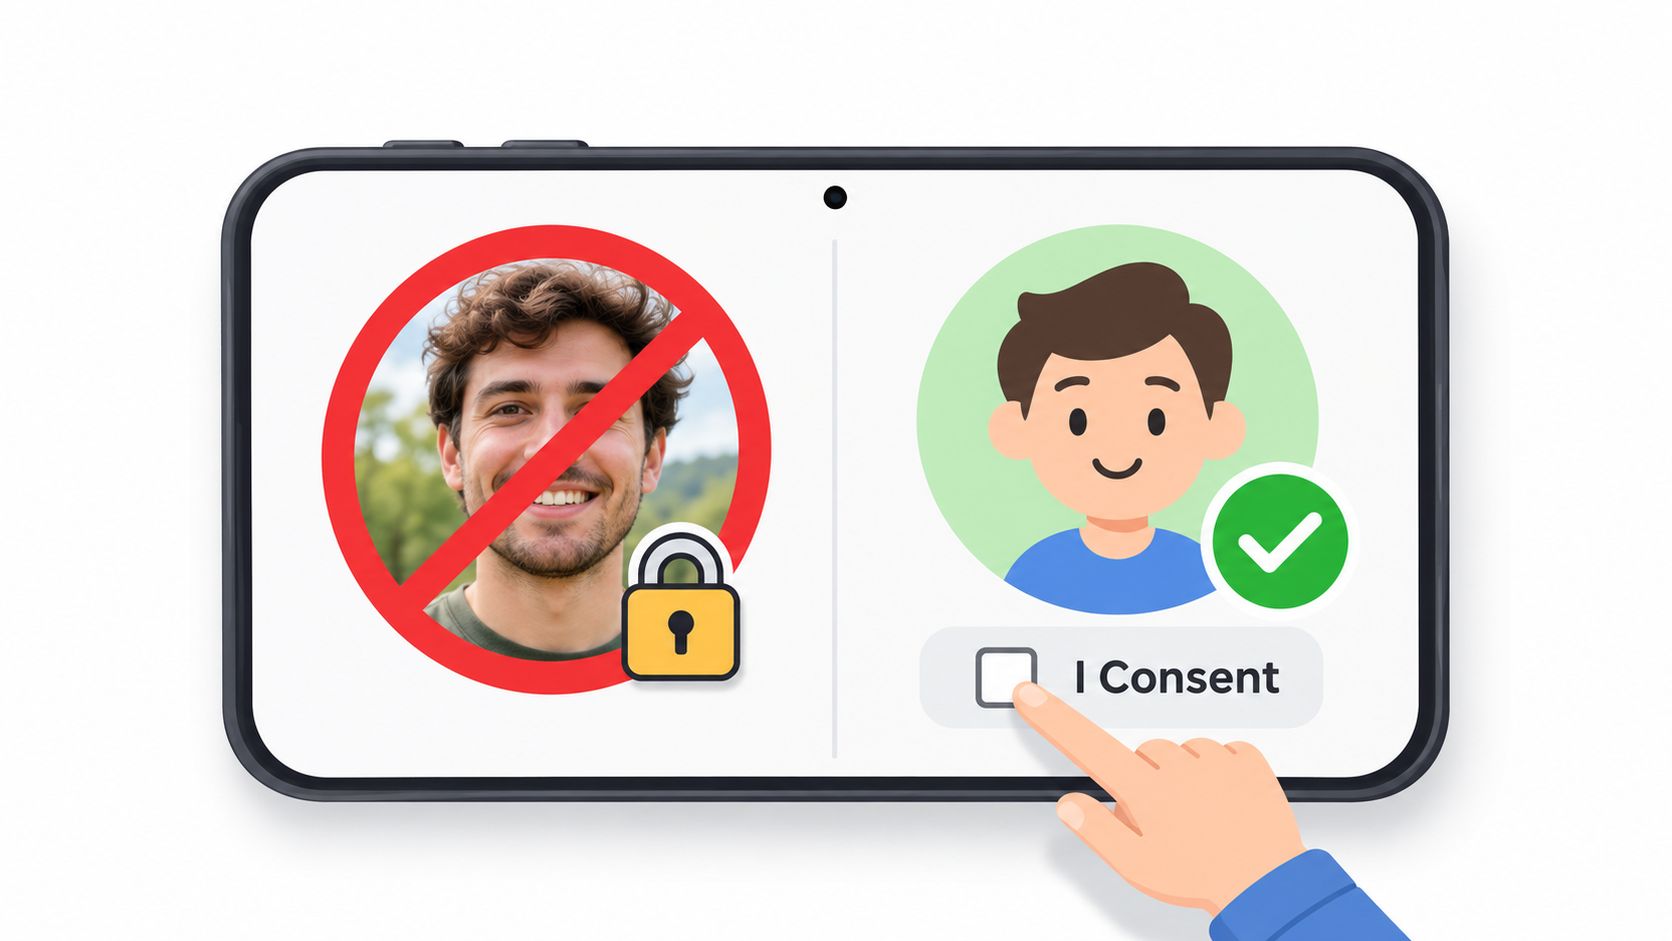
Never turn on the AI character setting with a photo of a real person. On Visual Sandbox, that setting means you confirm every person in the images is an AI-made character. A real photo does not belong there.
Realism is not automatically the goal. A face that could pass as you on camera is a different object from a cartoon you chose on purpose.
A checklist before you upload
- Retention: Ask whether photos and voice recordings stay on the server after the avatar is built.
- Training: Ask whether those files can train later models.
- Deletion: Learn how deletion works, then test deletion and export before you commit a long take.
- Reuse: Ask whether the provider can reuse your likeness.
- Compromise: Decide what you will do if the account is taken over. Restrict source footage, the voice model, and any export link.
- Other people: Get written consent from anyone who appears in the source material.
A personal profile, a speaking double, and commercial use do not carry the same risk. Write the usage boundary before you generate, not after a clip spreads.
The European Commission FAQ on AI Act transparency defines a deepfake as AI-generated or manipulated image, audio, or video content that resembles an existing person, object, place, entity, or event and would falsely appear authentic or truthful. That definition can cover realistic digital replicas and AI-generated human avatars. If viewers could mistake the result for real footage, keep the design clearly fictional when you can, or say it is artificial.
Put a human approval step in front of any public talking clip. If you are unsure whether a clip could fool someone, compare it with known tells in this guide to detecting fake AI videos. Face replacement is a separate, higher-risk edit. Our notes on AI video face swap spell out why that path needs its own consent check, not a casual upload.
How to Build Your Avatar Step by Step
Photo likeness only works when the inputs are boring in the right way: unedited, evenly lit, and slightly varied.
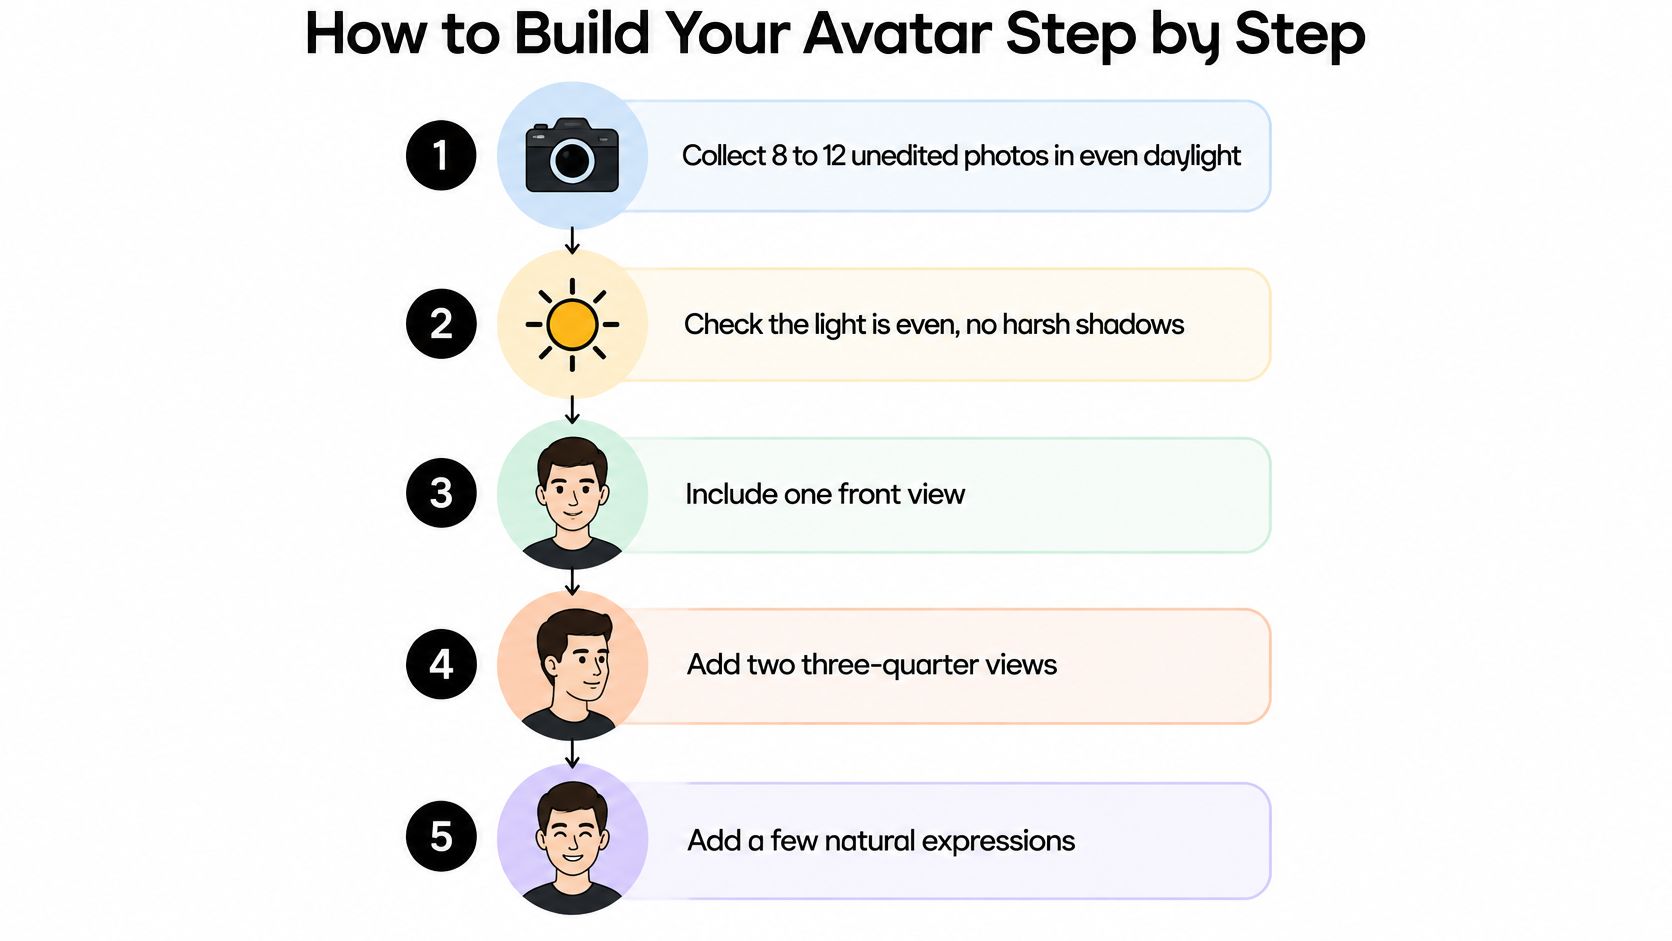
- Collect 8 to 12 unedited photos in even daylight: one front view, two three-quarter views, and a few natural expressions. Even light keeps skin tone stable from render to render.
- Throw out blurred shots, harsh shadows, sunglasses, group photos, and heavy filters. A filtered face teaches the generator the filter, not you.
- Pick the route. Upload photos when you want likeness. Write a text description when you have no usable photos. Do not mix both in the same test round.
- Generate 4 to 6 variations with identical settings. If settings stay fixed, differences come from the input, not from a random knob you forgot you turned.
- Compare each result with the reference photos for eye spacing, jawline, hairline, and skin tone. Thumbnail size is the honest test. A face that only works full screen will fail on a profile.
- Change one variable at a time, such as lighting or clothing. If you change the prompt and the photos together, you will not know which edit fixed the jaw.
- Test the keeper in three poses or expressions. Save the final image, the prompt, and the settings in one folder.
What a finished still looks like
It is recognizable at thumbnail size, consistent across three renders, and free of warped hands, teeth, and ears. If you later want that still to talk, a separate pipeline such as make portraits speak on camera is the next job, not a setting you flip on the same photo set.
Changing the prompt and the photos in the same round is the slip that wastes the most generations.
Build an Avatar From a Written Description
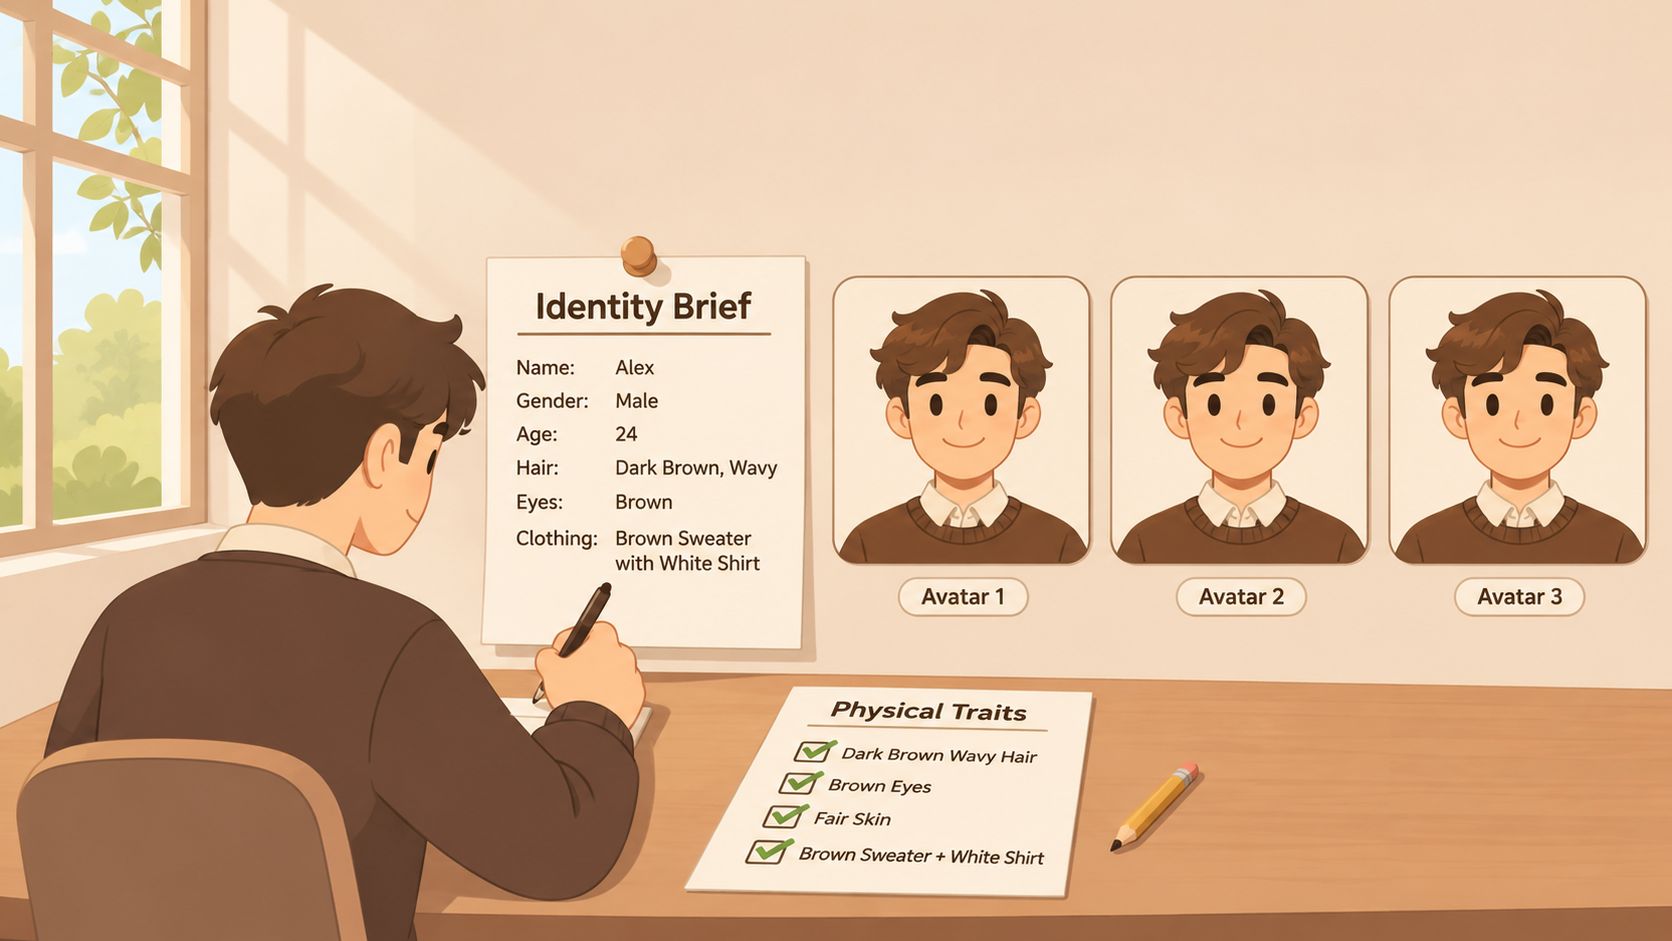
Use words when you have no good photos, or when the avatar should resemble you only in broad strokes. Write one fixed identity brief and paste it word for word into every render.
Build it from visible traits, not praise. Include age range, face shape, hair colour and length, eye colour, skin tone, build, glasses, a clothing palette, and one or two signature accessories. Also add religious clothing, accent notes, and any mobility or signing cue you want kept.
Say the brief is: a man in his late thirties with short dark-brown hair greying at the temples, round wire glasses, warm medium-brown skin, and a navy knit jacket with a silver watch on the left wrist. Words like handsome, young, or friendly drift between renders. Replace them with something you can see.
Three blocks, only two that move
Split every prompt into identity, style, and scene. Only style and scene should change between tries. Our AI image generator prompt notes show how to keep that split when a model wants one long paragraph.
Generate three tests with the same identity block. If the face drifts, shorten the brief and add one distinctive cue, such as the glasses or the watch.
In a global study of 6,000 people reported by the Institute of Digital Fashion, 92% said customization was important, and facial features, skin tone, and body shape ranked above clothing. A review of 202 deepfake avatars found 18 of 48 demographic groups absent, and providers covered 1.06% of the world's languages, according to research in Expert Systems with Applications. Do not accept a default young English-speaking face. This route is the right one when privacy matters most, or when the avatar should stay clearly fictional.
Record a Speaking Avatar That Stays in Sync
Start here only after you have chosen a speaking double and you already have consent for the face and the voice. A photo set alone cannot run this path. If you only have a still, read a talking head video workflow before you record.
- Record a front-facing video in even light, plain clothing, with eyes, mouth, and jaw clear, and with speech that is easy to understand.
- Record a second clip of natural head turns, expressions, and gestures so the model is not stuck on one pose.
- Speak an on-camera consent line tied to a one-time code, confirm the speaker is the person being modeled, and store a revocation note.
- Record the voice at one microphone distance in a quiet room, then transcribe it accurately.
- Map phonemes to timed visemes, drive the mouth, cheeks, and head, and render.
- Check sync at the sentence, the word, and the phoneme. If the mouth lags, fix the timing before you edit the face.
- Run a separate pass for plosives, sibilants, names, numbers, a second language, emotion, and fast speech. Score whether the voice still sounds like the subject, whether the words stay clear, and whether the lips match.
A Photo for Video animation tutorial is useful if you are comparing still-to-video tools, but it does not replace the second clip or the consent line.
Fix Common Avatar Problems Fast
| Problem | Likely cause | Fix |
|---|---|---|
| Face looks like a different person | Too few photos or heavily edited sources | Add varied, unedited photos and regenerate |
| Skin tone shifts between renders | Mixed lighting in source images | Use one even daylight set and state the tone in the brief |
| Hands, teeth or ears are warped | Small details rendered at low resolution | Crop closer, raise output size or regenerate the frame |
| Expression looks stiff or frozen | Single static portrait as input | Add expressive photos and test with varied scripts |
| Lip movement lags the voice | Audio and video timing mismatch | Re-sync the audio track and check at sentence boundaries |
| Results change every run | Prompt or settings changed between runs | Keep the identity block and settings identical |
A drifting face is the most common failure. More adjectives will not repair a thin or filtered photo set. Add varied, unedited images and regenerate.
Sort the fix by the time it costs
A prompt edit costs one generation round. New source photos mean a full new upload cycle, so spend the cheap fix first only when the cause is the prompt.
- Skin tone: Mixed window light and flash in the same folder will shift colour every run. One daylight set, plus the specified tone, holds it.
- Hands, teeth, ears: These break when tiny parts are drawn small. Crop closer or regenerate that frame at a larger size.
- Frozen expression: One stiff portrait produces one stiff avatar. Add expressive photos, then test with scripts that are not the same mood.
- Late lips: That is timing, not identity. Re-sync the audio and listen at sentence boundaries before you touch the face mesh.
- A new person every run: Something in the identity block or the settings moved. Paste the same block and lock the settings.
Ownership and Disclosure Before You Publish
Copyright usually needs meaningful human authorship. The World Intellectual Property Organization states that copyright law traditionally recognizes human authorship and excludes works produced solely by machines. The U.S. Copyright Office will register an original work of authorship only when a human being created it. A short prompt by itself may leave the output without protection. Character design, pose, styling, composition, editing, and the selection of generated elements are the choices that add authorship.
Keep the prompts, the source files, the edit history, and the versions you rejected. That folder is how you show the work was yours to direct.
On Visual Sandbox, you keep ownership of the prompts and other inputs you submit and of the media you generate, to the extent the law lets you own AI-generated output. Local law can still limit the claim, so check the rules where you live before you license the file.
YouTube's altered content policy requires creators to disclose realistic altered or synthetic content when it makes a real person appear to say or do something they did not. Use that disclosure when a talking avatar could pass as real footage. A stylized or obviously fictional character usually does not need it.
Before you post, confirm four things: rights to every source file, consent records, a disclosure label where the clip could pass as real, and a saved copy of the final prompt and settings.
Start Your Avatar With One Clear Goal
Pick one context for the first build: a work headshot, a stylized chat icon, or a short talking clip. Build only that type. Call it done when it is recognizable at thumbnail size, consistent across three renders, and free of warped hands, teeth, and ears. For video, a short clip whose lips match the voice is enough for round one.
Choose the size you will post, such as a square profile image or a horizontal talking frame, and do not change that size during the test set.
Visual Sandbox is a pay-per-use platform for generating images, video, audio, 3D, and vector media using third-party AI models. Image, video, and audio tools share one workspace, so the still and the talking clip can come from the same account on visualsandbox.com. Sign in, run one small test set, and compare it with your photos or your fixed identity brief. Save the prompt, the settings, and the source files with the version you keep.
Visual Sandbox is a pay-per-use workspace for images, video, audio, vectors, and 3D, which is the practical stack when a still avatar and a short talking clip have to stay consistent. Bring one clear goal, one posted size, and either a small photo set or a fixed identity brief. Start a test on Visual Sandbox and keep only the version that still looks like you at thumbnail size.