AI Video Face Swap: How It Works and How to Do It Safely
November 11, 2026 · 12 min read
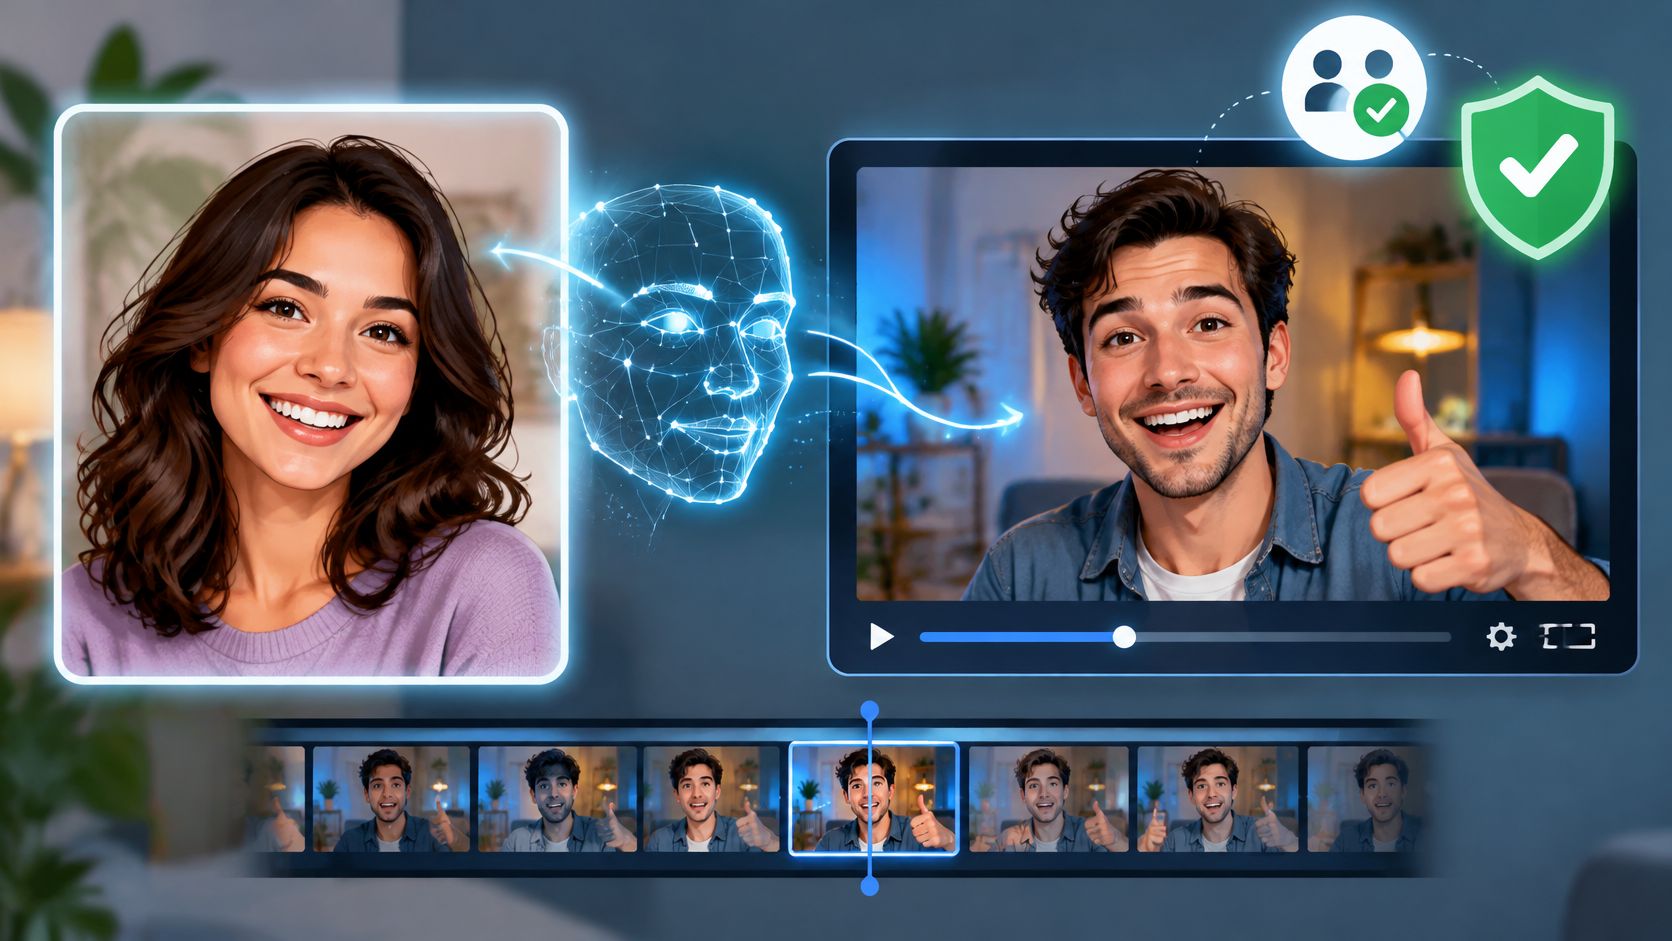
You've got a clip that's almost right. The performance lands, the lighting works, and the only thing wrong with it is the person in frame. So you drop in a photo, run a swap, and the first preview looks convincing. Then you watch it full size on a phone and the jawline flickers, the hairline glows, and the mouth drifts half a beat behind the audio.
That gap between a convincing still and a usable clip is where most AI video face swap work lives. The model is rarely the weak link. Footage is. So is the paperwork, which is consent from the person whose face you're borrowing and a record that proves you had it.
The order below is the order I run: check the footage first, test short, measure the render properly, then decide whether it ships.
Table of Contents
- Consent, Disclosure and Misuse Response
- What to do when a swap appears without permission
- Footage Specs That Make or Break a Swap
- How to Run a Face Swap Step by Step
- Measure Identity, Expression and Flicker Before Publishing
- The three-pass watch
- Fixing Flicker, Halos and Drift After a Bad Render
- Decide Whether Your Swap Is Ready to Publish
Consent, Disclosure and Misuse Response
Consent isn't a step you clear before work starts. It's the condition that decides whether the work happens at all. Two permissions have to be in place before a frame renders: the person whose face goes in, and the person whose footage supplies the performance.
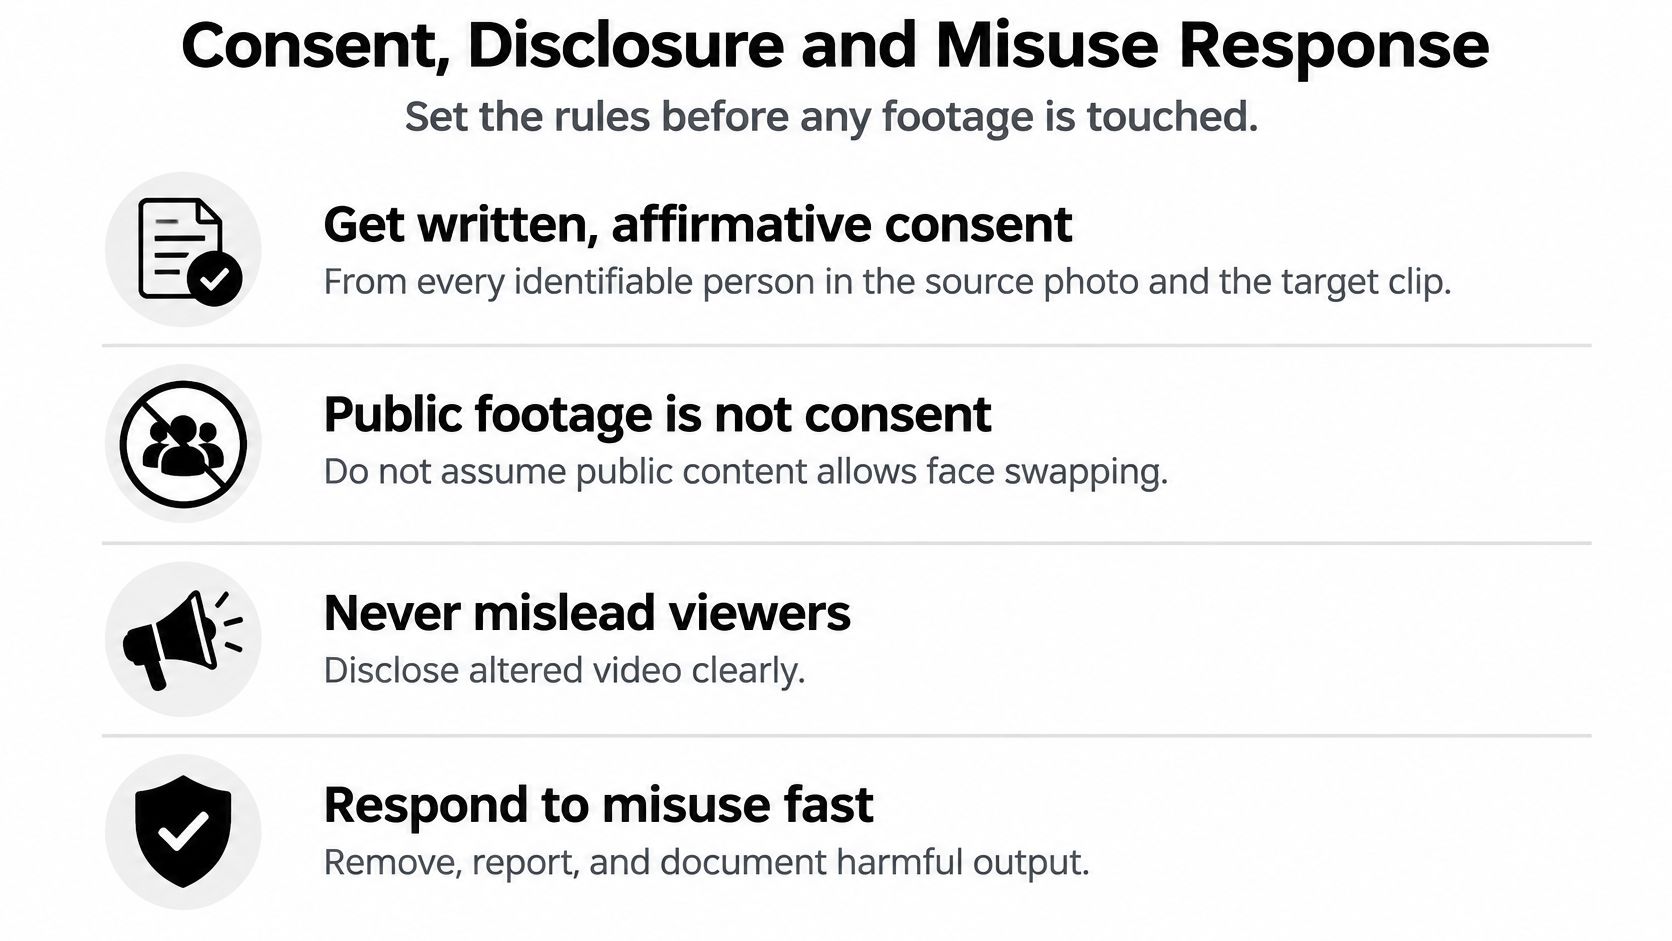
- Get written, affirmative consent. From every identifiable person in the source photo and in the target clip. A verbal yes on a call is hard to produce six months later when a brand asks who approved the asset.
- Refuse minors outright. No school projects, no family videos, no exceptions for a joke.
- Never build intimate or sexual material, and never place a real person's photo into a character or fantasy mode. Permission doesn't cover a use that will escape your control the moment it's shared.
- Label the result for viewers. Ads, testimonials and influencer posts should state plainly that a face was replaced, in the frame or in the caption.
My test for a valid consent record: if the person saw the finished clip on a stranger's phone tomorrow, would they recognize the decision they made? If that's unclear, the consent was too vague to rely on.
Public footage is not permission. A YouTube clip, a brand campaign video, a portrait on a public profile, none of it carries the right to reuse a likeness. If you can't reach the person, choose a different clip.
Visual Sandbox handles one version of this with a hard gate. Turn on the AI character setting and you confirm that every person in your images is an AI-made character, and that setting must never be used with a photo of a real person. That's the right shape for the rule: a switch that changes what you're allowed to upload, not a warning you can click past.
Keep the unedited source, the signed consent and the export settings in one project folder. If the swap also replaces a voice, the same logic applies to synthetic speech, and this guide to making an AI voice covers what to record there.
Volume makes the record-keeping routine rather than paranoid. The European Parliament Research Service projected 8 million deepfakes would be shared in 2025, against 500,000 in 2023. When that many altered clips are circulating, being able to produce a signed consent on request separates a professional from an amateur.
What to do when a swap appears without permission
Move quickly, because platforms remove content faster than they restore it.
- Save the URL and the account handle before you do anything else.
- Take dated screenshots of the post, the caption and any comments that identify the creator.
- Preserve the original file if someone sent it to you, in a folder you don't edit.
- Report the post through the platform's impersonation or synthetic media channel.
- Send a written removal request to the account and, if there is one, the host.
- Talk to a lawyer when money, employment or reputation is affected, and keep documenting until it's resolved.
Footage Specs That Make or Break a Swap
Resolution caps everything downstream, so fix it first. Aim for a target clip at 1080p or higher. Low-resolution faces give the detector almost nothing to lock onto, and the blend edge ends up guessed rather than matched.
The mechanics explain why. A swap detects and aligns facial landmarks in both the source and the target frames, and those landmarks define the eyes, nose, mouth and face outline. The system then transfers identity traits while trying to hold the target's pose, expression, lighting and scene. Every frame depends on that alignment, so footage that confuses the detector produces drift no blend setting can correct.
Here's the checklist I run before any render.
| Input | Recommended condition | Why it matters |
|---|---|---|
| Target video resolution | 1080p or higher | Low resolution hides facial detail and makes edge blending harder |
| Face size in frame | Face fills a large share of the frame | Small faces give landmark detection too few points |
| Head angle | Mostly front-facing, with no full profile turns | Extreme profiles break landmark tracking |
| Lighting | Even and consistent across the clip | Shifting light causes colour mismatch between frames |
| Occlusion | Hands, hair and objects clear of the face | Blocked features cause flicker |
| Source photo | Sharp, well lit, expression close to the target | Clean source detail gives a cleaner identity transfer |
| Test clip length | 5 to 10 seconds | Short tests reveal problems before a full render |
The source photo deserves the same scrutiny as the clip. A sharp, evenly lit image with the whole face visible and an expression near the target's beats a beautiful portrait shot at an angle, every time.
Judge the footage the way your viewer will see it: after compression. A clean render can hide flicker that resurfaces once a platform re-encodes the file, so evaluate the test at the export settings you plan to publish with. A pass looks like this: no frame-to-frame jitter, and a colleague recognizes the source person without being told. If the shot involves a specific gesture or body movement, the alignment problem gets harder, and the same thinking applies in this walkthrough of how AI motion transfer turns a photo into a dancer.
How to Run a Face Swap Step by Step
Control names vary by tool, so look for the equivalent setting rather than the exact label. The order below holds across editors.
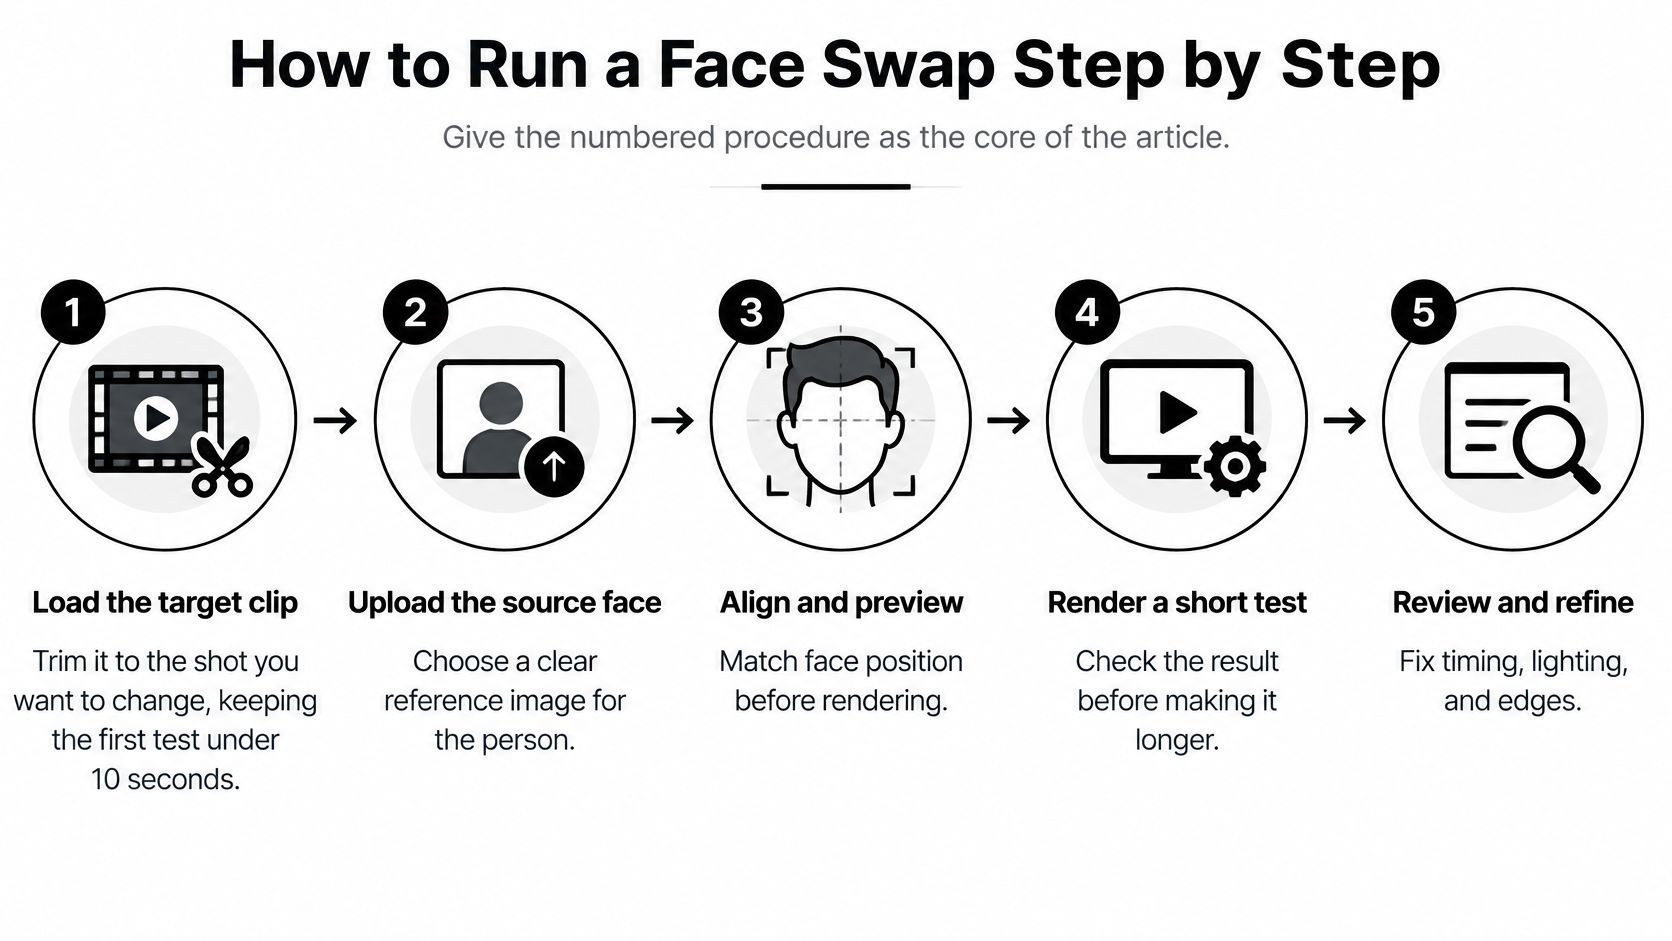
- Load the target clip and trim it to the shot you want to change. Keep the first test under 10 seconds. Short tests are cheap to repeat, and a flaw caught at ten seconds saves you a full-length render.
- Upload the source photo and confirm the tool detects exactly one face in it. A second face in the reference can pull the result toward the wrong person, and you'll spend an hour blaming the model for it.
- Select the face you want replaced in the target frame. This matters in crowd shots and two-person interviews, where the tool will otherwise pick the largest or most central face.
- Check the landmark overlay on the first and last frame of the clip. If the points jump or slide off the jaw, pick a different clip. No blend setting rescues bad tracking.
- Set the blend or strength control to a middle value and leave expression transfer on. Middle values keep the source identity readable while the mouth and eyes still follow the target's performance.
- Run the short test and watch it at full size, not in the thumbnail. Halos at the hairline and seams along the jaw disappear on a small preview and show up instantly on a laptop screen.
- If the test holds, run the full clip and review every cut. Skin tone and hairline matching drift from shot to shot, even inside one project.
- Export the highest quality master and save the project settings. The master is the file you re-derive compressed tests from, and saved settings are what make the second version of a swap faster than the first.
Here's the full sequence running end to end, which is useful for judging how much of the work is preparation rather than rendering.
Measure Identity, Expression and Flicker Before Publishing
A swap that survives a thumbnail can still fail at full size. Review on a large screen with the source photo open beside the player.
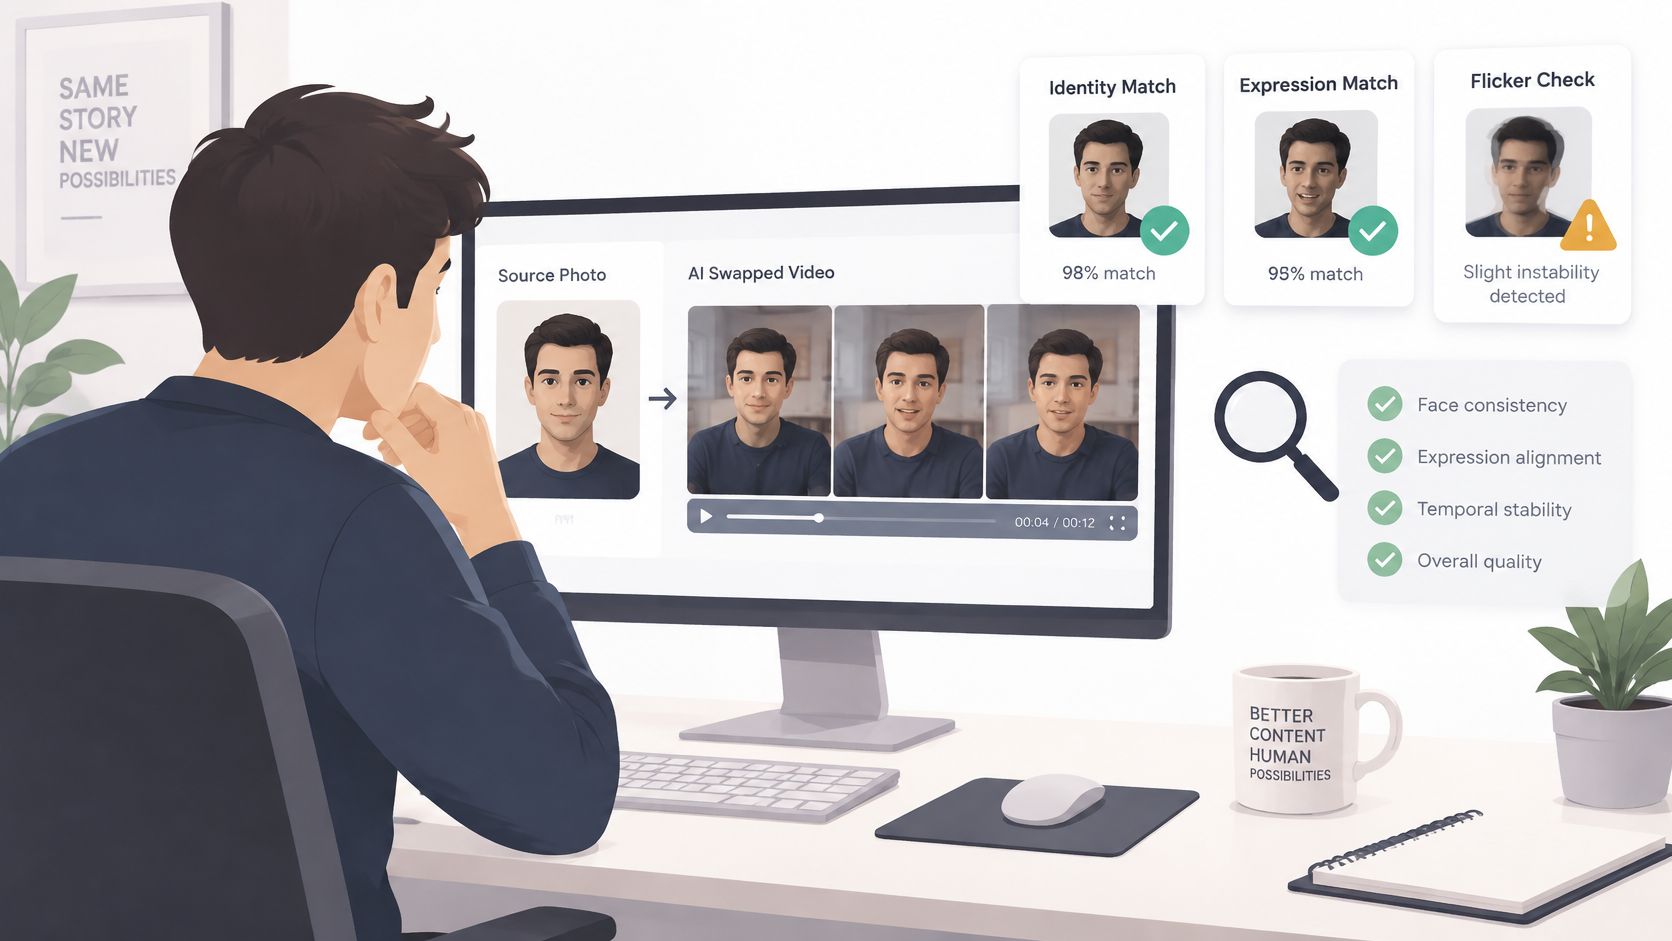
Treat each review as a footage problem, not a software verdict. Benchmarks do the same thing: a survey of face-swap evaluation methods identifies identity retention, expression error, pose error and Fréchet Inception Distance as the common metrics, each scored separately rather than rolled into one number. You don't need research tooling to apply that logic to a single clip.
| Check | What it measures | How to check it |
|---|---|---|
| Identity retention | How closely the face matches the source person | Compare sampled frames with the source photo side by side |
| Expression error | Whether mouth and eye movement match the target | Play the clip at half speed and watch lip sync |
| Pose error | Whether head angle matches the original | Pause on head turns and compare the angle |
| Temporal flicker | Frame-to-frame stability of the face | Scrub frame by frame at the start and end of each cut |
| Boundary artifacts | Halos or seams at the hairline and jaw | Check at full size on a large screen |
The three-pass watch
Run the clip muted first, because sound pulls attention to the words and away from the face. Then watch it with audio for lip sync. Then at half speed, pausing at the start, middle and end of every cut and on each fast head turn.
Once it looks clean, export a compressed copy at the settings your publishing platform will apply and review that file. Compression reintroduces flicker and seams that the master hides.
Fréchet Inception Distance is the one metric to skip here. It scores whole sets of generated frames with a research tool, and you can't judge it by eye on a single clip. Identity retention, expression, pose, flicker and seams are the five you can run.
The clip passes only when all five hold across every sampled frame, not just on the frame you'd use as the thumbnail. Keep a short record of the checks you ran alongside your consent and provenance notes for the footage, so a questioned swap can be answered with something better than memory. For a series with the same performer, standardize the checklist; this guide to keeping an AI character consistent across a shoot is built around exactly that.
Fixing Flicker, Halos and Drift After a Bad Render
Flicker is the complaint you'll hit most often. It usually comes from unstable landmark tracking, caused by blocked features, hair across the cheek, a hand near the mouth, or fast head movement. Swap in a steadier target clip and re-run the test rather than hunting through settings.
A halo at the hairline or jaw almost always means the blend edge is too wide or the colour doesn't match the shot. Narrow the edge and colour match that shot on its own. Skin tone that shifts mid-clip tracks a change in lighting, so match shot by shot instead of pushing one correction across the whole timeline. Mouth and eye drift tend to come from exaggerated speech in the target, so choose a target with clearer articulation and lower the blend.
| Symptom | Likely cause | Fix |
|---|---|---|
| Face flickers between frames | Unstable landmark tracking | Use a steadier target clip and re-run the test |
| Halo at hairline or jaw | Blend edge too wide or colour mismatch | Narrow the edge and colour match that shot |
| Skin tone shifts mid-clip | Lighting changes between shots | Match colour shot by shot |
| Mouth or eyes drift from speech | Target has exaggerated expressions | Choose a target with clearer mouth movement and lower the blend |
| Clean in editor, blurry after upload | Platform compression | Review a compressed test copy before posting |
| Face is not stable under motion blur | Fast movement in the target | Choose a clip with slower head movement |
The upload problem is the one people miss. A study of detectors tested on FaceForensics++ and Celeb-DF v2 under JPEG compression, Gaussian noise, motion blur and encoding artifacts found average accuracy fell from 94.7% on clean videos to 67.8% on distorted videos, with JPEG compression and motion blur causing drops of up to 35%. If trained models lose that much signal after ordinary distribution processing, your eyes will too. Export a test copy at a platform-like bitrate, upload it privately, and review that version.
The restart rule: if two fixes fail on the same shot, the footage is the problem. Pick a new target clip instead of continuing to tune settings.
Decide Whether Your Swap Is Ready to Publish
Publishing is a decision with four conditions, and all four have to be true at once.
- Written consent is on file for every identifiable person in both files.
- The clip passes at full size and again on a compressed copy.
- The disclosure label is in place, in the frame or in the caption, wherever the clip will appear.
- The unedited master and project settings are saved somewhere you can find them next quarter.
If any one fails, go back to the section that fixes it. Don't publish and hope the platform's compression is kind.
The rule I'd apply to my own work: a swap you can't defend in a client call isn't finished, no matter how good frame 120 looks.
Visual Sandbox is a practical place to run the test and keep the follow-up edits together, since it provides image, video, audio, vector and 3D generation in one workspace. You're not moving files between tools to re-run a short test after a colour fix.
Your next hour: pick one clean target clip and one photo from a person who has signed off, run the 5 to 10 second test, watch it full size, then repeat the check on a compressed copy. Keep the consent record and settings with the project so the second swap starts from a verified process rather than a blank page.
A face swap is only as good as the footage and the permission behind it, and Visual Sandbox gives you one workspace to run that test, fix the result and keep the edits together. Image, video, audio, vector and 3D generation live in the same place, so the compressed review and the re-render happen without shuffling files between tools. Try your first short swap at Visual Sandbox and see how the checks hold up on your own footage.