AI Try on Clothes: How Virtual Outfit Previews Work
November 10, 2026 · 11 min read
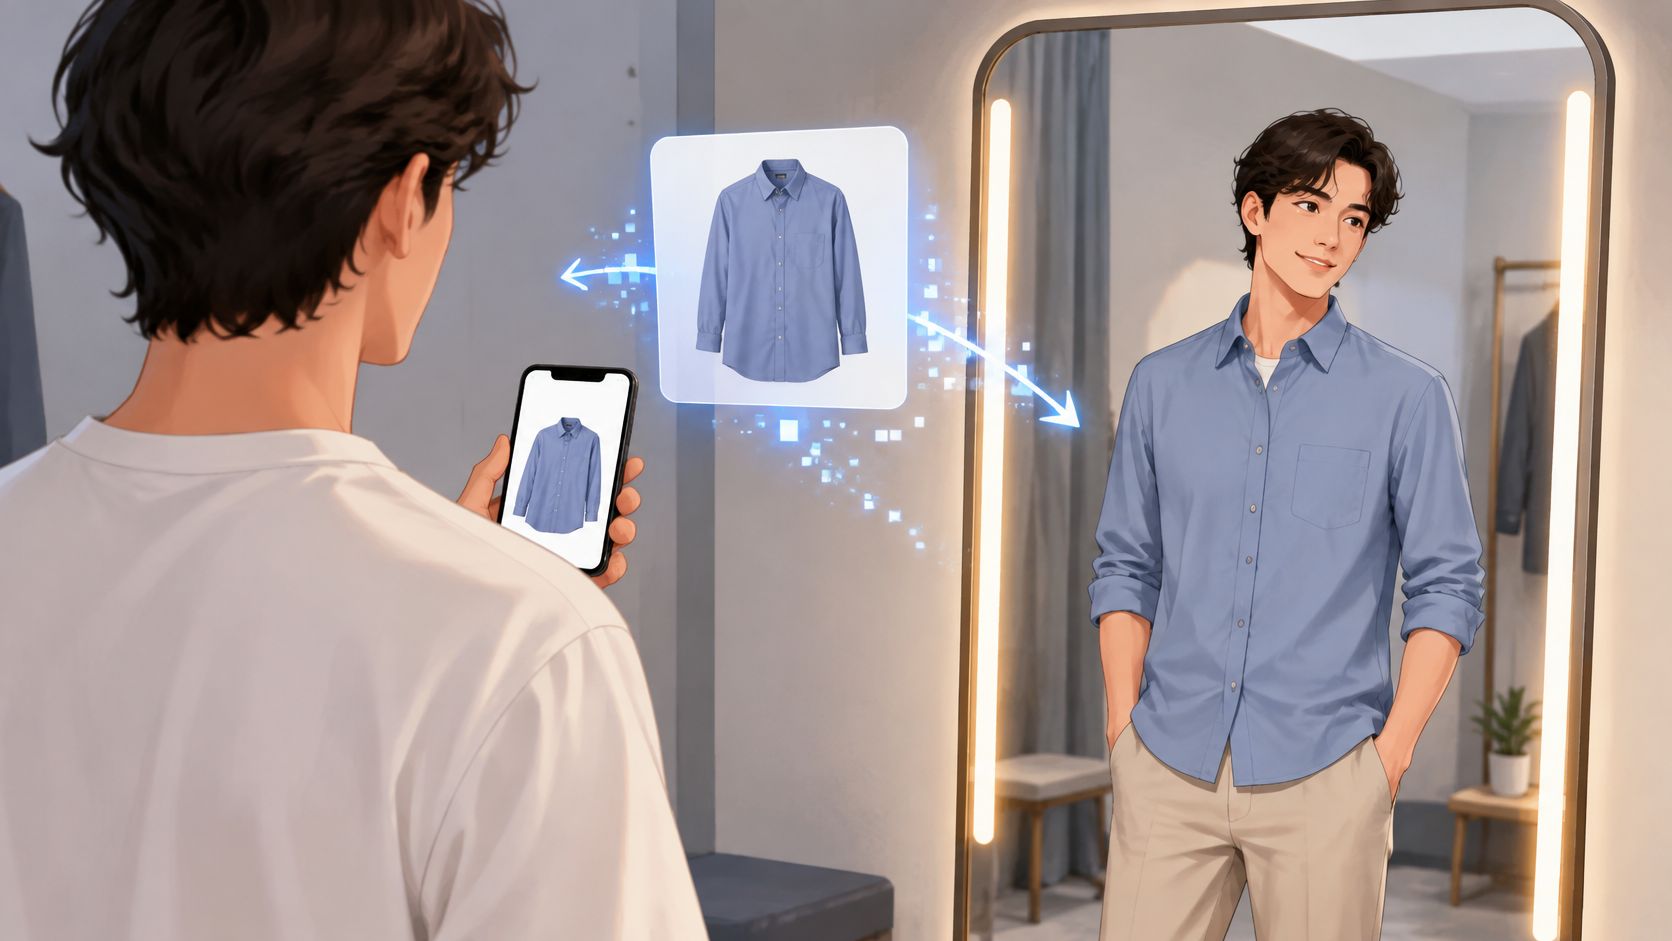
If a preview looks perfect on screen, does that mean the garment will fit you in real life? That's the gap most shoppers miss. AI try on clothes tools can show style and shape well. They can't replace measurements, size charts, or fabric checks.
Table of Contents
- Why Online Shoppers Need Virtual Try-On
- Leading Reasons for Apparel Returns
- Photo Requirements That Give Clear Previews
- Image Requirements for Garment and Person Photos
- Common Mistakes and Fixes
- Step-by-Step Outfit Preview with AI Try-On
- How AI Try-On Combines a Garment and a Body
- Three Stages in Order
- What a Preview Shows and What It Cannot Tell You
- What a Try-On Preview Shows and What to Check Instead
- Body Diversity and Photo Privacy Questions
- Four Questions to Ask First
- Run Your First Outfit Preview Today
Why Online Shoppers Need Virtual Try-On
How often does an online clothing order end up back in the return box? For apparel, the honest answer is more often than you would like. You cannot touch fabric or feel drape. You cannot pull a waistband or test a sleeve. You judge fit from photos of someone else.
A catalog shows the outfit on a model. A mirror shows it on you. Virtual try-on moves you closer to the mirror.
The cost of guessing wrong is large. Coresight Research reported an average online apparel return rate of 24.4% in the United States for the twelve months ending March 6, 2023, based on a survey of 100 apparel brands and retailers in which 53% named size and fit as the leading reason for returns.
Leading Reasons for Apparel Returns
| Return reason | Share of respondents |
|---|---|
| Size and fit | 53% |
| Color | 16% |
| Damage | 10% |
That split explains why a preview matters. Size and fit outrank every other reason by a wide margin, so a tool that places the garment on your body before you pay targets the largest single cause of returns. Color problems and damage sit far lower on the list.
Early systems needed body measurements, depth cameras, or preset avatars. Newer AI systems work from ordinary photos. That makes try-on simpler for shoppers and gives stores that already publish clear product photos an easier path to offering previews.
Treat the return figures as a baseline, not a verdict. They show the problem is real. They do not prove a tool fixes it. The useful question when you look at a preview is whether it helps you choose a size or style with more confidence, not whether it merely looks convincing.
Practical rule: Ask whether the preview helps you decide, not whether it only looks good.
Photo Requirements That Give Clear Previews
Good inputs prevent most bad previews. The system needs to see the full garment and the full body. If either photo hides key detail, the model has to guess.
Start with the garment. Show one complete item laid flat, or on a front-facing model or mannequin. Don't cover it with hands, bags, or accessories. Keep the neckline, sleeves, hem, and print fully visible.
Then check the person photo. The body should face forward with arms down. The full body should stay in frame. This gives the garment clear anchor points at the shoulders, waist, and hem.
Google says the source image must be at least 512 by 512 pixels, while 1024 pixels or larger is preferred. Larger files keep seams and edges sharper. Small files lose detail before generation even starts.
Image Requirements for Garment and Person Photos
| Input | Recommended setup | Why it matters |
|---|---|---|
| Garment image size | At least 512 by 512 pixels, 1024 pixels or larger preferred | Keeps seams, prints and edges sharp |
| Garment view | One complete item, flat or on a front-facing mannequin | Shows the full shape before generation |
| Garment visibility | Not covered by hands, bags or accessories | Avoids guessing hidden parts of the garment |
| Person pose | Facing forward with arms down | Matches the garment placement on the body |
| Person framing | Full body in frame | Shows where the hem and sleeves should fall |
A phone photo can work well if it's sharp and well lit. Use even light and avoid heavy shadows across the body. The phone photo guidance covers framing basics that also help here. Stand far enough back to include your head and feet. Don't crop at the knees or elbows.
Common Mistakes and Fixes
- Small or blurry garment photo: Seams and prints smear in the result. Use the largest original file you have.
- Hands, bags, or a phone covering the item: The system must invent the hidden part. Retake the shot with the garment fully clear.
- Side or turned pose: The garment warps to the wrong angle. Use a front-facing photo instead.
- Several garments in one upload: The model can't tell which item to place. Upload one item at a time.
- Cropped body: The system guesses hem or sleeve length. Include the full outline in frame.
These rules sound strict, but they're simple. They reduce ambiguity about shape, visible detail, and position. Less guessing means fewer floating necklines, missing sleeves, and distorted prints. If your first result looks wrong, fix the input photo before you blame the tool.
Step-by-Step Outfit Preview with AI Try-On
AI try-on places a photo of a garment onto a photo of a person and produces a preview of how the outfit might look. It shows appearance, not confirmed fit.
Check both photos against the requirements first. Then follow these steps.
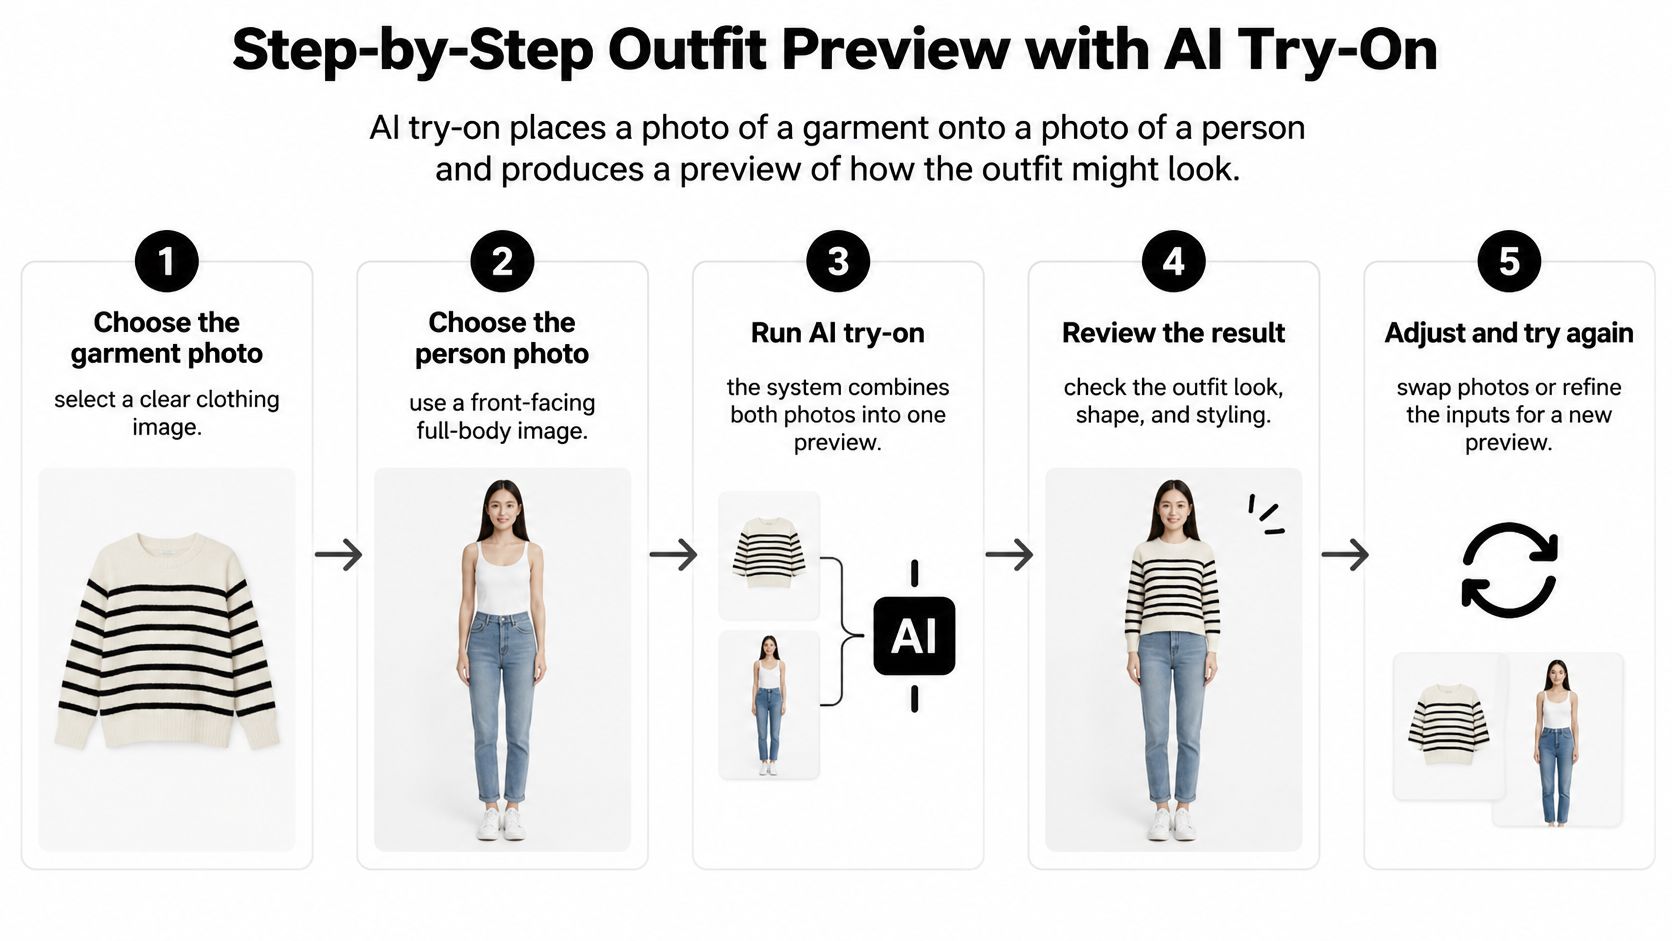
- Upload the garment photo. Select its category, such as top, bottom, or dress, if the tool offers that choice. This tells the system where the garment belongs on the body.
- Upload the person photo. Use yourself or another consenting person, facing forward with arms down and the full body in frame. This gives the garment a clear place to land.
- Run the preview. Check the sleeve ends, hem, neckline, and any print or logo. These details show whether the warp and fill worked.
- Repeat for each layer. Start with the base piece so outer items sit over the ones beneath them. A jacket, for example, should go on after a top.
- Save and compare. Set the result beside the size chart before ordering. The preview doesn't recommend a size, so this step stays manual.
A usable preview has clear signs. The garment keeps its shape, color, and print. The body isn't cut off. The outline sits naturally on the shoulders and waist.
If a logo bends or a seam vanishes, don't trust that result. Swap in a larger garment photo or a straighter pose and run it again.
How AI Try-On Combines a Garment and a Body
Think of a tailor with a paper pattern. The tailor lays the pattern over a dress form, adjusts it to the shape, then smooths the fabric so it looks worn. AI try-on follows a similar order, but with images.
The tailor analogy helps explain the inputs shown below.
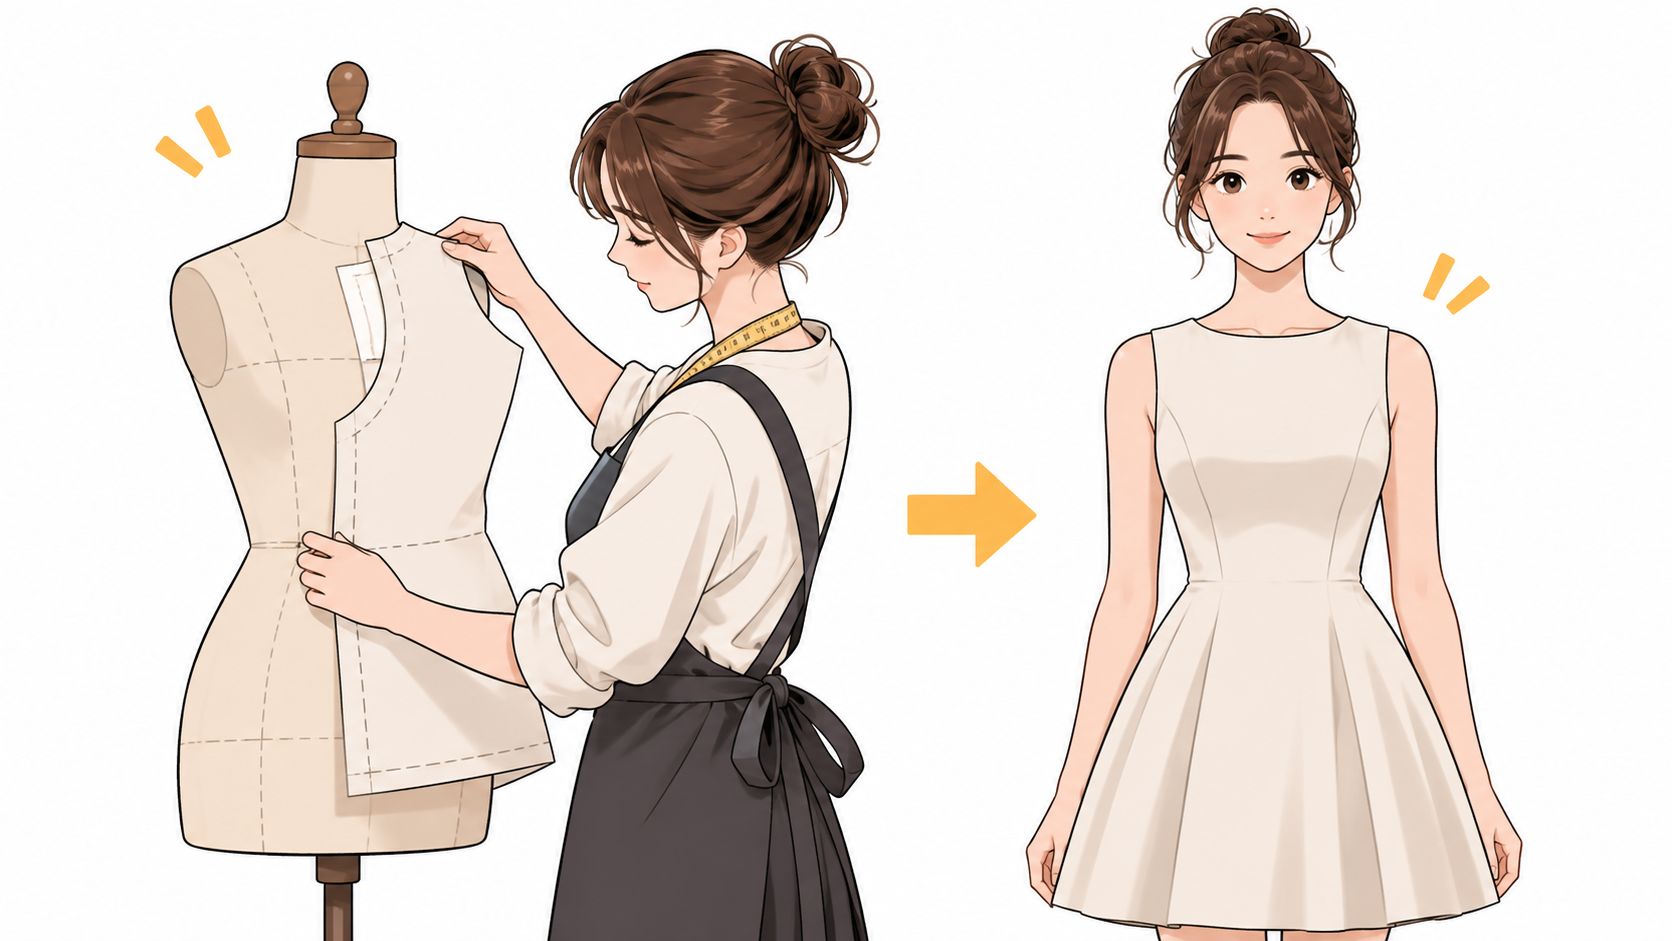
Two images go in. One shows the garment. One shows the person. Google's system processes each image with its own neural network, and the two networks exchange information through cross-attention while generating the final image. Google trained the system on image pairs showing the same person wearing the garment in different poses, such as a side view and a front view. That training helps keep pose and garment appearance consistent.
Three Stages in Order
First comes fashion parsing. The system separates body regions from clothing classes. It labels arms, torso, legs, and existing clothes so it knows what to keep and what to replace.
Second comes warping. The garment bends and scales to match the person's pose and body outline. A flat shirt, for example, curves around the chest and aligns its sleeves with the arms. If the warp is off, a sleeve can land in the wrong place or a neckline can float.
Third comes generation and blending. The generator fills hidden areas and adds folds, shadows, and fabric edges. This stage makes the result look worn rather than pasted on.
The video below shows this kind of combining process in action.
When you inspect a result, zoom in on details. Check logos, seams, and prints first. Diffusion style refinement can make an image look realistic while changing a stripe, pocket, or brand mark. Sharp, stable details signal a better alignment.
You may also meet related tools with similar names. AR overlays place a garment on a live camera view. Avatar fitting rooms dress a stored digital body model. AI image try-on synthesizes the garment on a shopper's own photo. They're related, but they're not the same. Check which one a store uses before you rely on the preview.
What a Preview Shows and What It Cannot Tell You
A try-on image is a visual preview. It is not a size recommendation. That distinction protects you from the most common mistake.
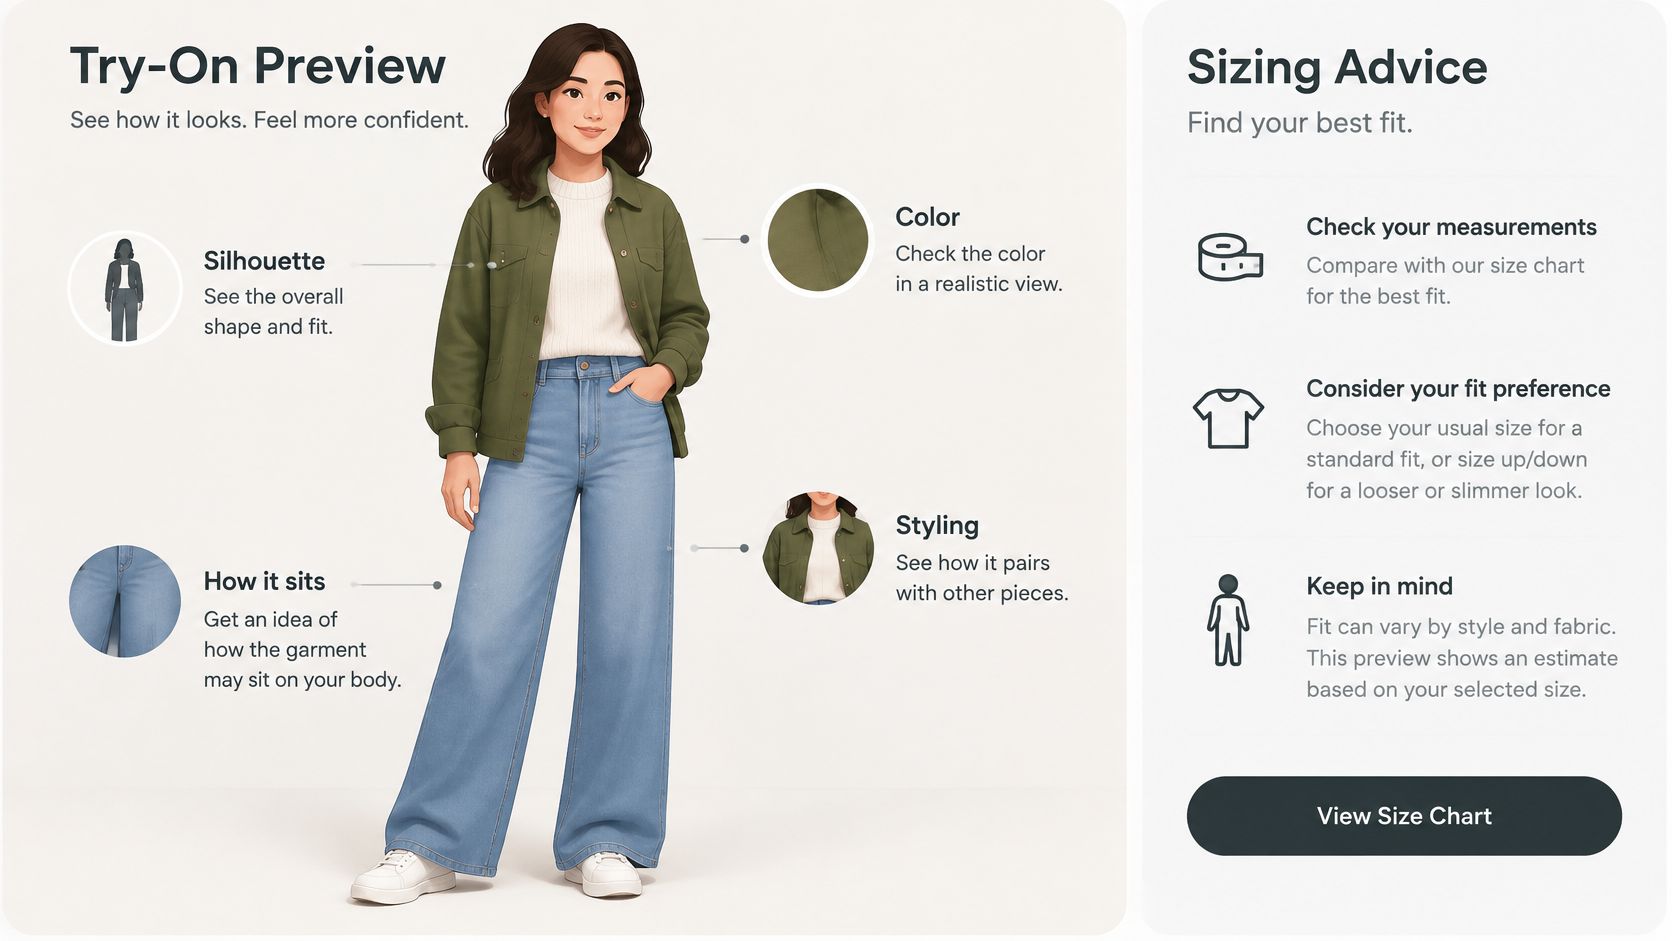
The preview can show overall silhouette, color, and styling. It can suggest how a jacket might sit on your shoulders. It can help you rule out a neckline, length, or print that doesn't suit you.
Google states its generated image can show how an item might look on a person, but it does not indicate whether the garment will fit, recommend a size, or show whether a particular size is available from the merchant. Image generation can depict drape, folds, wrinkles, and shadows without proving exact measurements.
The example below shows the kind of visual impression a preview gives you.
What a Try-On Preview Shows and What to Check Instead
| Question | Try-on preview | What to check instead |
|---|---|---|
| Overall silhouette and color | Good approximation of the look | Confirm the style in product photos from the merchant |
| Drape, folds and wrinkles | Visual impression only | Read the fabric weight and material notes |
| Which size to order | Not indicated | Compare the size chart with your own measurements |
| Stretch, waistband tension and sleeve movement | Not reliable | Check stretch notes and buyer fit feedback |
| Whether a size is available | Not indicated | Check stock on the merchant's product page |
For sizing, measure yourself first. Check chest, waist, hips, and inseam where relevant. Then compare those numbers with the merchant's size chart for that exact garment. Don't rely on your usual size label alone. Brands cut the same label differently.
For fabric behavior, read the listing closely. Look for fabric weight, material blend, and stretch notes. A preview can draw soft folds on a stiff fabric. It can also smooth out pulling at a waistband. The image shows a plausible surface, not physical tension.
Use the preview to judge style. Use measurements to judge size.
Between sizes is the hardest case. The preview won't tell you if a smaller size will restrict your shoulders. Look for garment measurements and past fit feedback from other buyers. Note whether buyers say the item runs small, large, or true to size.
A simple protocol keeps you safe. Use the preview to rule styles in or out. Use measurements to pick the size. Check the return policy before you pay. If the measurements and the preview disagree, trust the measurements.
Body Diversity and Photo Privacy Questions
Two questions matter before you upload anything. Will the preview look right on your body? And where do your photos go?
Representation is uneven. A 2026 review reports that more than 70% of research samples represent standard BMI bodies, while high-BMI users, diverse ethnicities, and special populations remain scarce. The same review reports distorted try-on effects for high-BMI users and larger fitting errors during complex limb positions.
That means a polished demo can mislead you. A tool may perform well on the bodies in its training data and poorly on others. Judge it by results on bodies like yours, not by a store's best examples.
Four Questions to Ask First
- Can I try on without a body scan? Many image tools need only a regular photo. Prefer that option if you don't want detailed scanning.
- Are photos deleted or kept? Read the retention policy before uploading. Look for a clear deletion timeline, like the kind set out in a privacy policy.
- Does the model change my body shape? Compare your outline before and after. If your waist or arms shift, treat the preview with caution.
- How is bias disclosed? Retailers should report results by body type, not one average accuracy score.
Try-on systems may collect body photographs, camera data, measurements, body shape, purchase history, and preferences. Send the fewest photos that work. Use only photos of yourself or people who've agreed. If a tool won't explain retention in plain terms, don't upload.
Run Your First Outfit Preview Today
Start with one garment, not a full wardrobe. Pick a garment photo that meets the size and view rules. Pick one person photo with a front-facing pose and the full body in frame.
Run the preview once. Check the sleeves, hem, neckline, and print. If details bend or vanish, fix the input photo and try again.
Before you order, compare the result with the merchant's size chart and your own measurements. Use the preview only to rule styles in or out. Let measurements and the return policy decide the size.
The workspace below shows where this kind of image work happens in Visual Sandbox.
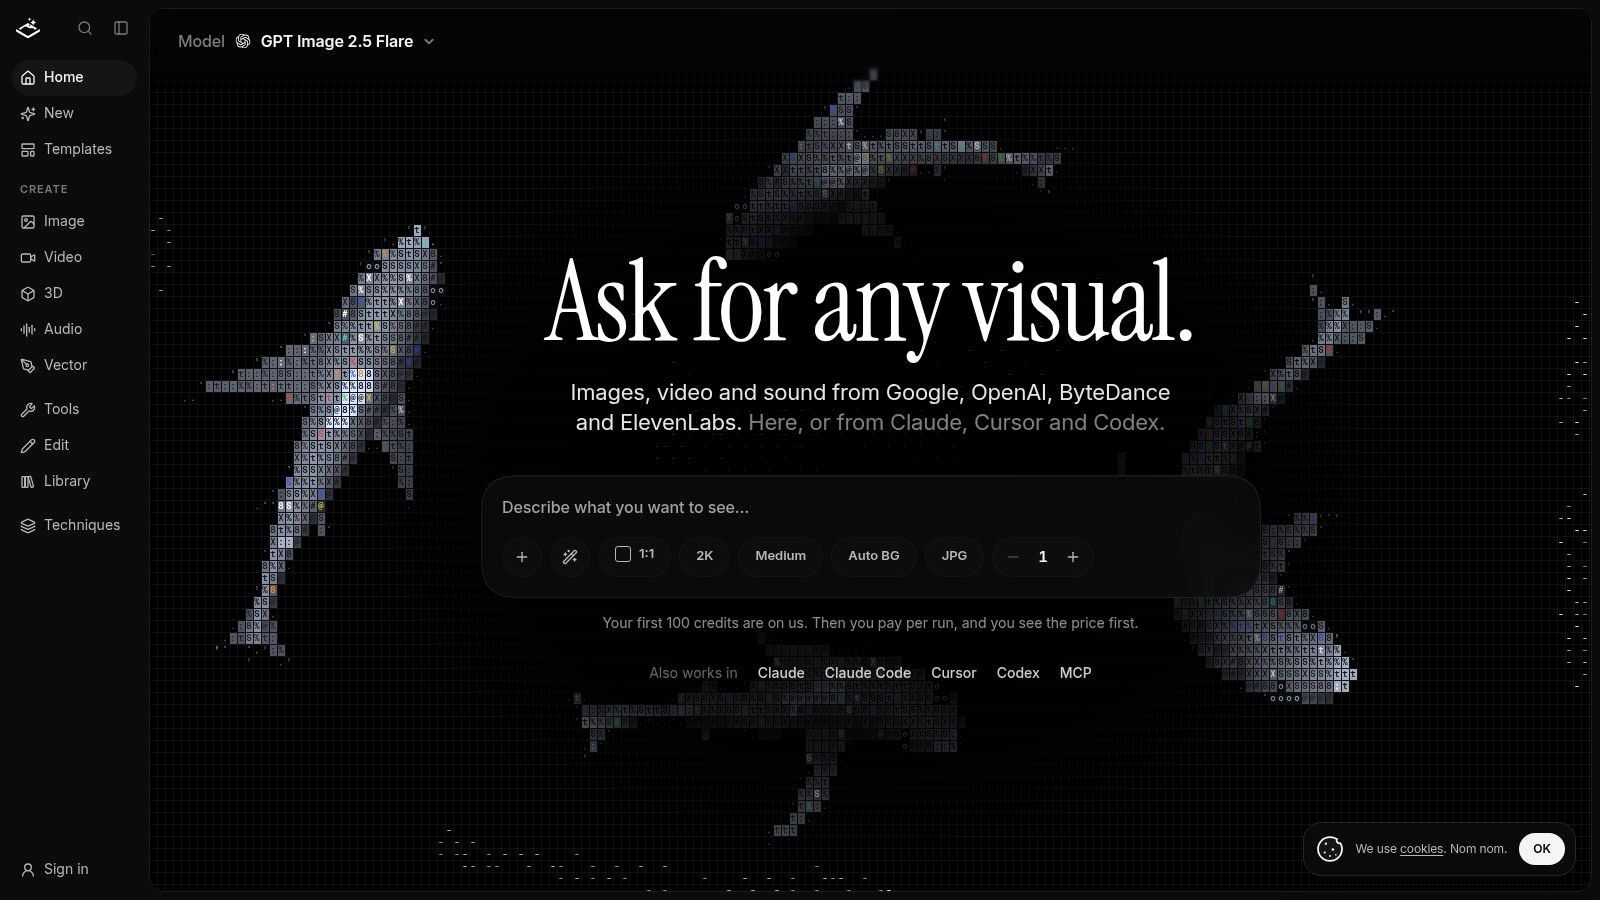
If you also make product visuals, Visual Sandbox is a pay-per-use workspace where you can generate and edit product images. It also turns one still photo of a product into a short clip. Prices are shown before each generation, and the same balance covers the web app and agent integrations.
Your first step is small. Upload one garment and one photo. Run one preview, check the details, then check the size chart.
Try a first preview with one clear garment photo and one front-facing full-body photo, then confirm size with measurements before you buy. Visual Sandbox gives you a pay-per-use workspace to create and refine those product images in one place, with prices shown before you generate.