How to make Instagram carousels with Claude
November 5, 2026 · 4 min read
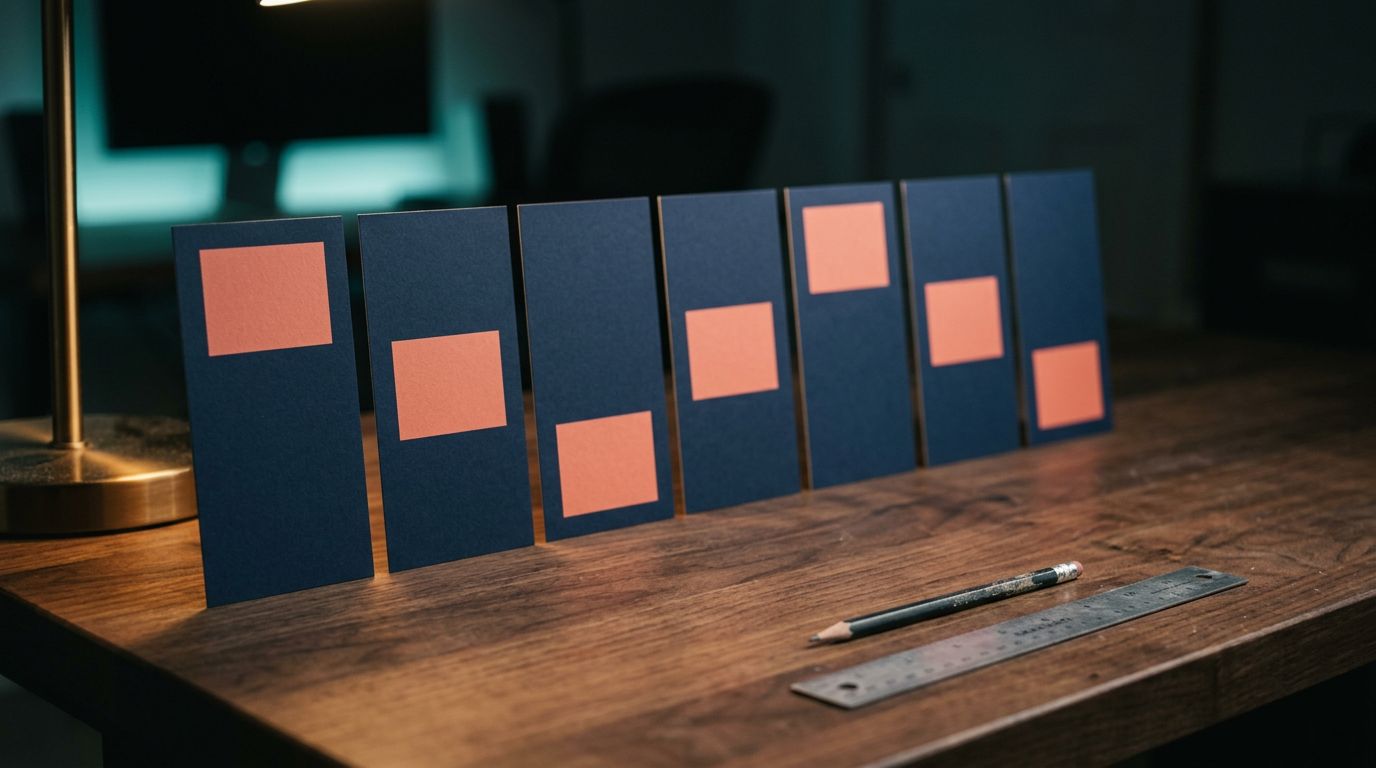
The fastest way to make an Instagram carousel with Claude is to split the job. Claude writes the slides, and a renderer draws them at 1080x1350 with the exact words you approved.
Most failed AI carousels skip that split. They ask an image model for ten finished slides, and get ten slightly different styles with a typo on slide six.
The specs to design for
- Size: 1080x1350 pixels, a 4:5 portrait. That is the tallest ratio Meta's publishing docs accept, so it fills the most screen.
- Slide count: up to 20 photos or videos. Instagram doubled the old limit of 10 in August 2024.
- The first slide sets the crop. Meta's docs say every image in a carousel is cropped to match the first one. Make slide 1 a true 4:5 and every slide after it at the same size.
Keep all text at least 80px from the edges. Nothing important should touch the frame on any screen.
Step 1: Have Claude write the slide plan
Give Claude the topic and the reader. Ask for a table back, not prose:
Plan a 7-slide Instagram carousel on "5 mistakes new runners make". Reader: beginners. Return a table with slide number, headline (8 words max), one line of body text (20 words max), and a visual note. Slide 1 is the hook. Slide 7 asks the reader to save the post.
Edit this table until every slide earns its place. One idea per slide. If a headline needs a second line, split it into two slides.
This table is now your single source of truth. Every later step reads from it, so a typo fixed here is fixed everywhere.
Step 2: Lock one style and reuse it word for word
Style drift comes from small changes in the prompt. Write a style block once and paste it, unchanged, into every slide request:
Background #10131A. Headline in white, bold geometric sans, 96px, top left with 80px margins. Body in #B8C0CC, 40px. Accent color #FF6B4A for numbers. Slide counter "3/7" bottom right.
Exact hex codes beat words like "dark blue". Exact pixel sizes beat "large". The more numbers the block has, the less room each slide has to wander.
Step 3: Render text slides as HTML, not as AI images
Image models paint letters as shapes. That works for a three-word headline and breaks on a sentence of body text.
For text slides, ask Claude to turn the slide plan and the style block into one HTML page per slide, sized 1080x1350. A renderer then turns each page into a PNG. The text in the picture is the text in the code, so it can't misspell.
The Visual Sandbox MCP server has this built in. Claude calls render_html_image with the HTML and the size, and gets a PNG back. It's free, so redraw a slide as many times as you want.
Because all slides share one template, they match by construction. Only the copy changes.
Step 4: Use an image model only for the pictures
Photo slides and illustrated backgrounds are where an image model helps. Three habits keep them consistent:
- Generate slide 1 first. Fix it until you like it.
- Pass slide 1 as a reference image for every slide after it. Tell the model to keep the palette and the lighting, and to change only the subject.
- Keep text out of the picture. Put the headline on top with the HTML template from step 3, using the photo as the background.
If a slide must carry rendered text, keep it short and in quotes. The models that hold up best are compared in AI image models that get text right.
Nano Banana 2 takes a 4:5 aspect ratio and accepts reference images. It costs $0.09 per image at 1K and $0.13 at 2K. Seven photo slides at 1K come to $0.63, before retries. Prices are live rates at publish time.
Step 5: Check, then post
Before you upload, run this check on every slide:
- Read each word out loud. A spell checker can't see text inside a picture.
- Look at the slides side by side at phone size. A slide that feels off at thumbnail size will feel off in the feed.
- Confirm each file is 4:5. An image model's output is rarely exactly 1080x1350, so resize it before you upload.
Upload the slides in order, with slide 1 first. Then let Claude write the caption from the same slide plan, so the post and the caption say the same thing.
Keep the words in code and the pictures in the image model, and every slide will read right and match the one before it.