How to pin an AI video's start and end frame
July 22, 2026 · 3 min read
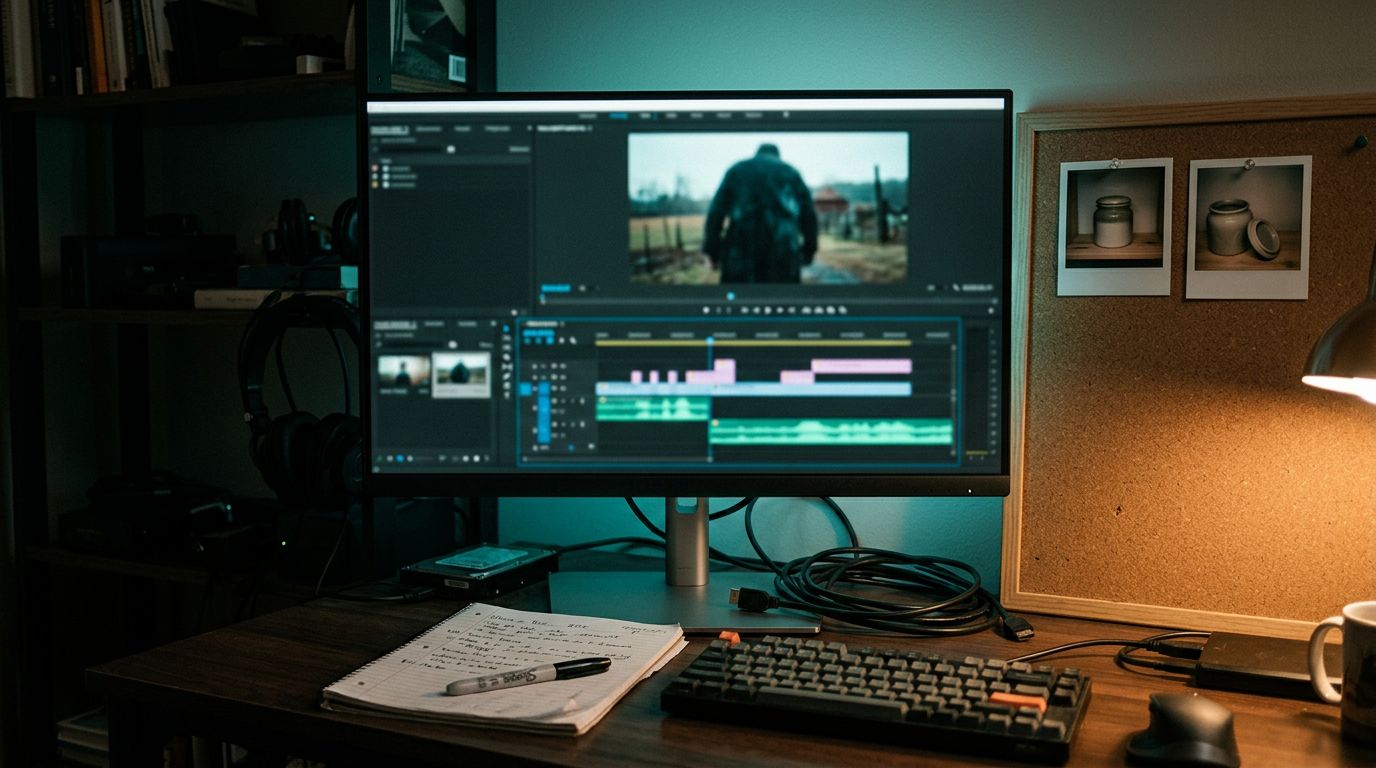
Two photos and one prompt. That's the whole input list for controlling exactly how an AI video clip opens and how it closes.
Start and end frame, not just a starting image
Most image-to-video tools take one photo and guess where the motion goes from there. Start and end frame control changes the job. You supply the opening shot and the closing shot as two separate images, and the model fills in every frame in between.
A text prompt describes motion in words. Two pinned frames describe the exact result you want. The model just has to find a path between them.
Where it shows up
Veo 3.1, Seedance 2.0, and Kling 3.0 Omni all take a first-frame image and an optional last-frame image. Upload both, write a prompt describing what happens between them, and the model renders the transition. Skip the second image and you get ordinary image-to-video, with the ending left up to the model.
Not every video model works this way. Kling Avatar 2.0 takes a portrait and an audio clip. Kling 3.0 Motion Control takes a portrait and a driving video. Neither has a slot for a second frame. If a shot needs a locked ending, pick a model that lists a last-frame input on its page.
What it's actually for
Product shots benefit the most. Photograph a product closed, photograph the same product open, and let the model render the motion between two photos that are both real. The transformation reads as exact because both ends of it are actual photography, not something invented mid-render.
A looping clip uses the same trick in reverse. Feed one image in as both the start and the end frame. Whatever happens in the middle, the clip lands back where it began, so it repeats without a visible cut.
Longer sequences chain off it too. Render an 8-second clip, then feed its last frame back in as the first frame of the next one. Do that a few times and you get a continuous shot well past any single model's duration cap, with no hard cut breaking the motion. Kling 3.0 Omni offers a shortcut for this: script up to six shots inside one generation, each with its own prompt, instead of stitching separate clips together yourself.
What breaks the interpolation
Mismatched framing is the most common failure. A tight close-up as the first image and a wide shot as the last forces the model to invent a camera move nobody described. Keep the framing close enough between the two that there's an obvious path from one to the other.
Lighting mismatches cause the same problem. A start frame lit warm and an end frame lit cool leaves the model guessing when the light changed and how fast. Match the lighting across both photos unless the change in lighting is the point of the shot.
Asking for too much at once also fails. A product that moves across the frame, changes color, and sits in a different room by the last image gives the interpolation three jobs instead of one. Pin a single big change per pair of frames and let the prompt carry the smaller details.
The prompt still does real work
The two images set the destination. The prompt sets the route. It should describe the motion connecting them: a slow push in, a hand reaching into frame, a door swinging open. Leave it vague and the model picks a generic path between the two points. Describe the motion the way you'd direct a shot, and the render matches what you pictured.
Two real photos and a well-aimed sentence beat a single prompt trying to describe an entire clip from nothing. Pin the start, pin the end, and let the model handle only the part it's actually good at: the middle.